
If you’ve never tried it before, studio lighting can seem a little complicated.
Don’t be put off - all you need is a simple home photography lighting kit, and you have the makings of a home studio to hone your photography lighting techniques.
Basic Gear for a Home Photography Studio
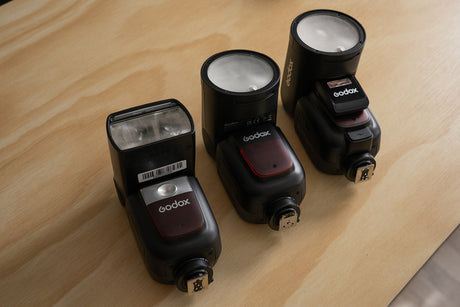
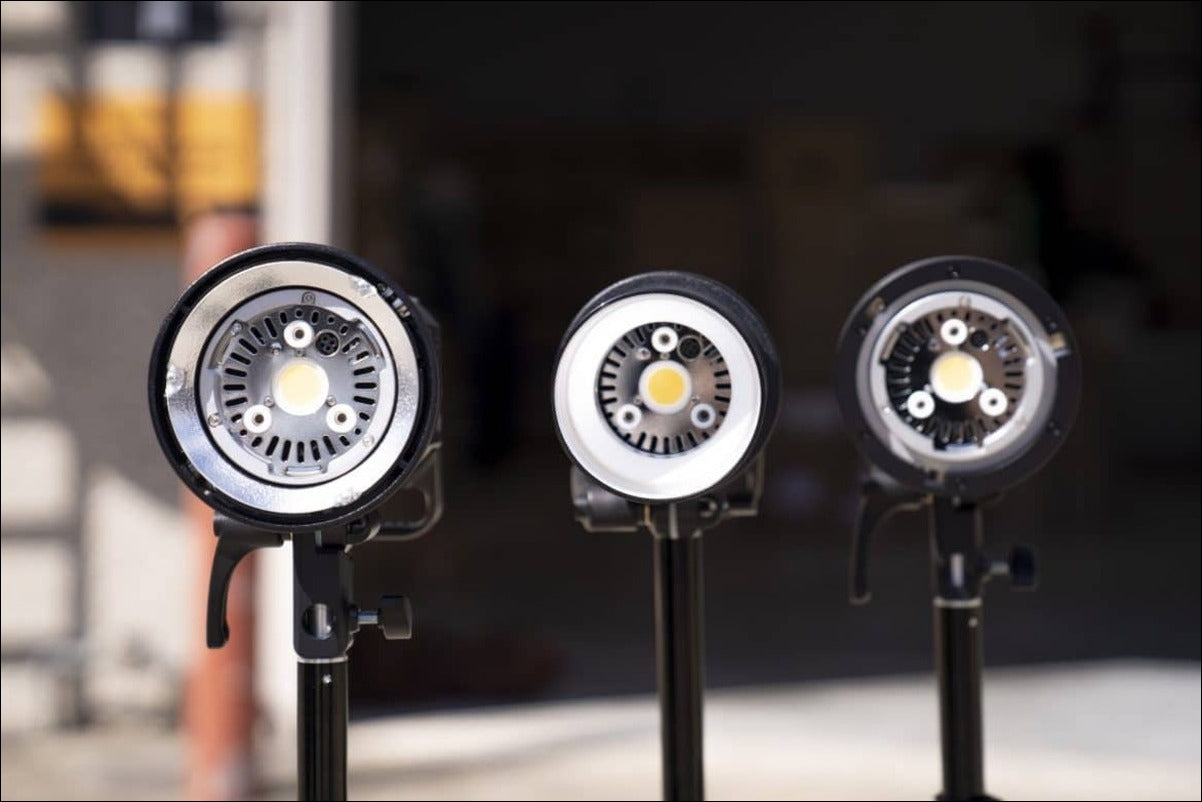
1. Flash Heads
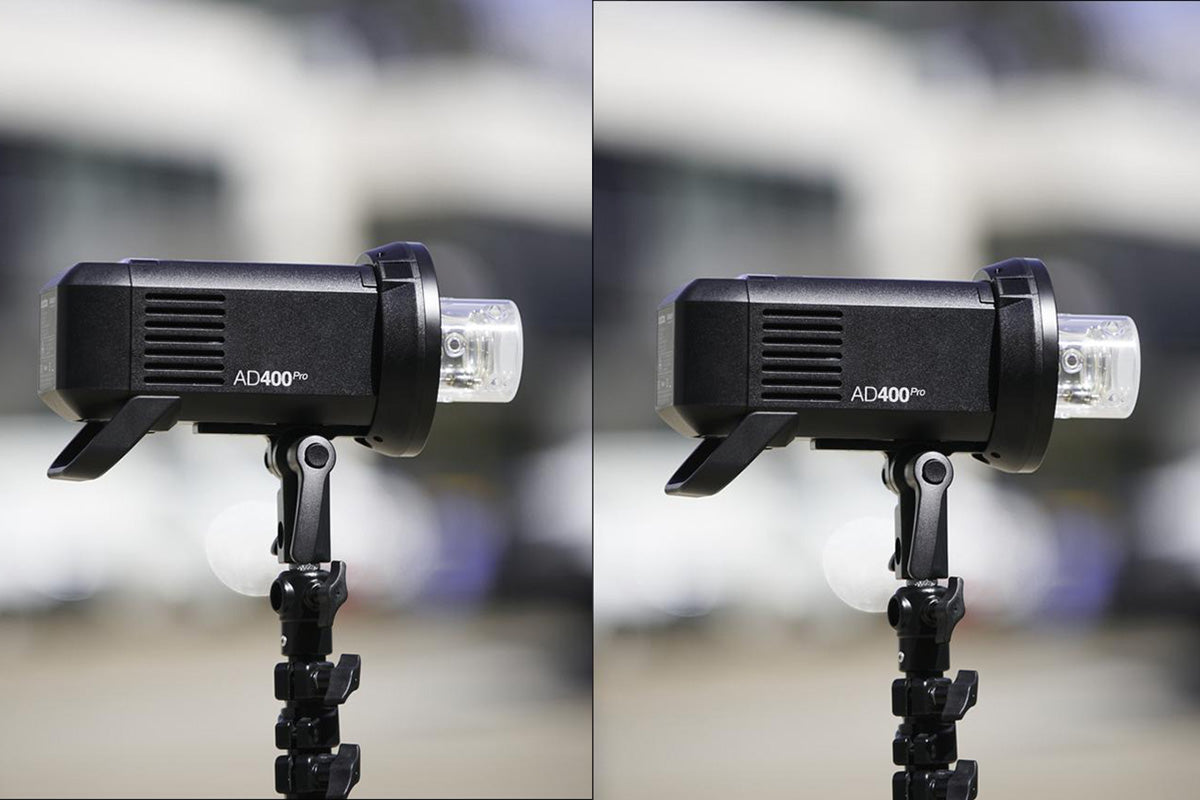
Flash heads are usually on a ‘slave’ system, which means they trigger automatically when you have your camera connected to one of the flash units.
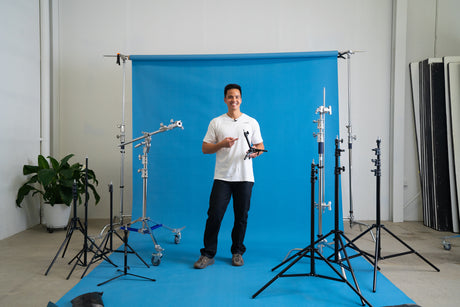
2. Light Stands
You need these to support the flash heads, and to enable you to change the height and angle of your flash heads, which is crucial for portrait photography lighting.
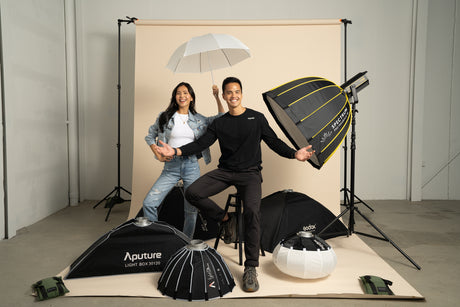
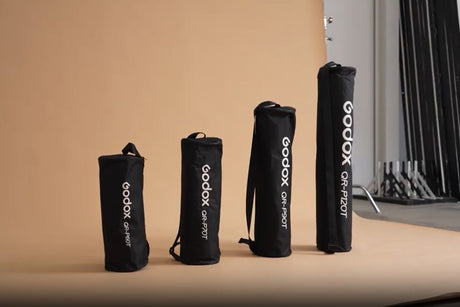
3. Modifiers
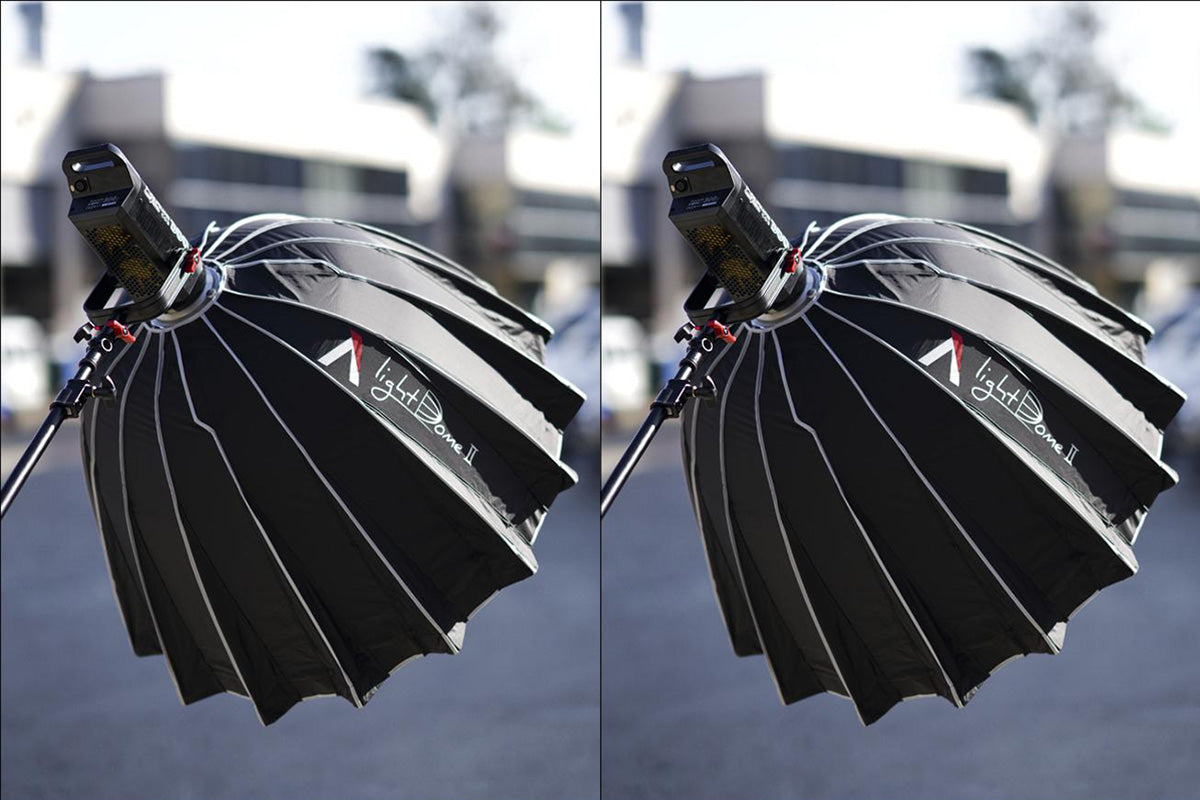
Softboxes and umbrellas are two of the most popular types of modifiers for portraits. The Aputure Light Dome II is great for fashion and portrait lighting, and it lends dimension and detail to your subjects.
A beauty dish like the Hypop Bowens Collapsible Beauty Dish is fantastic for any kind of close-up portrait. This modifier gives a dramatic yet classic look to your portraits.
4. Reflectors
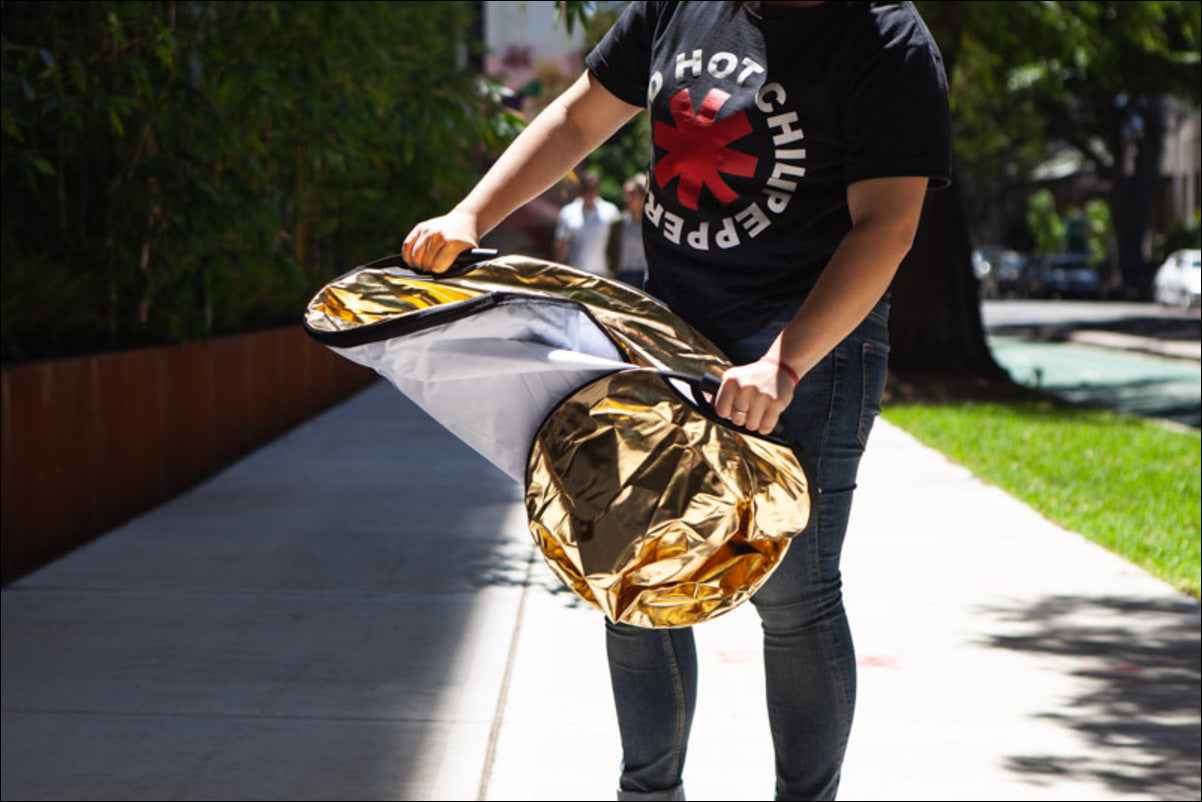
Reflectors do just that – they reflect light back on to your subject, which can lift the shadows and allow you to sculpt the light. They can be collapsible circular ones, large white foam boards, or anything in between.
5. Tripod
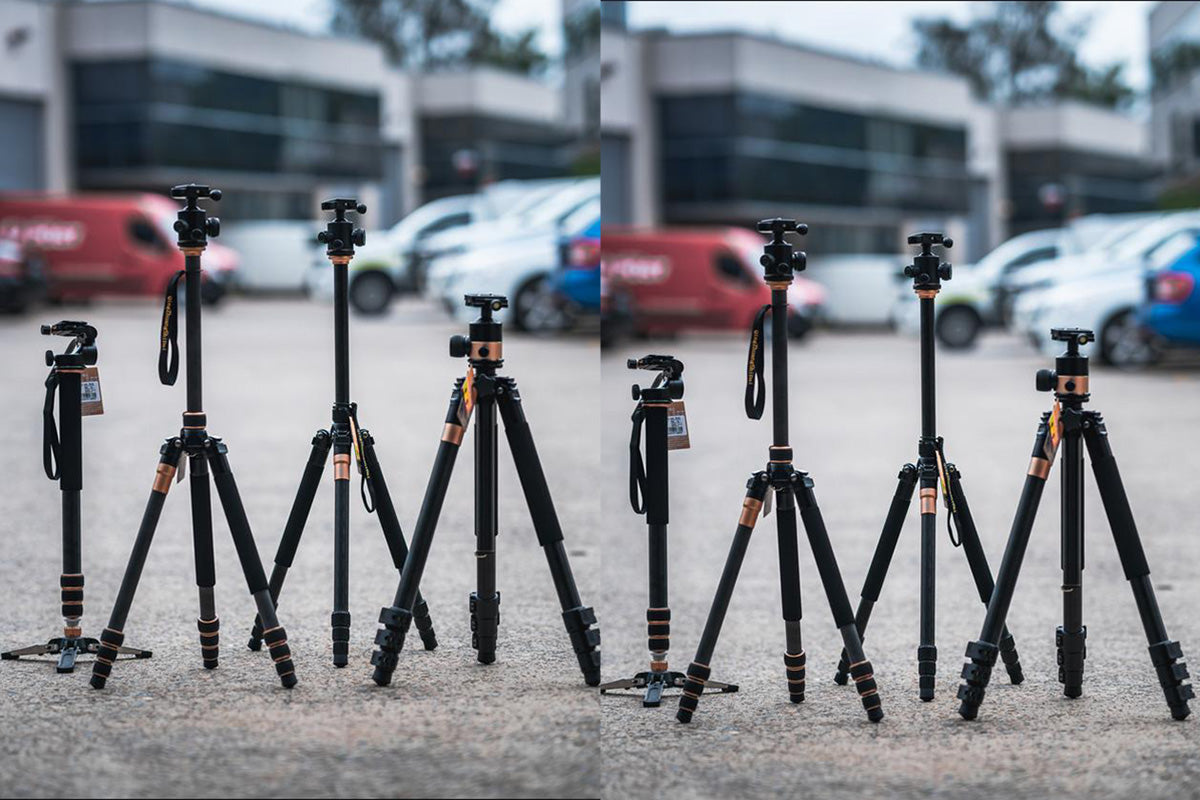
They allow you to position your camera and hold it rock-steady while you shoot, and if you are going to do outdoor or low-light portraits they are a must-have. The Beike Q99C Carbon Fiber Tripod/Monopod with Ball Head is made of strong carbon fiber, yet is lightweight enough for travelling.
Photography Lighting Techniques
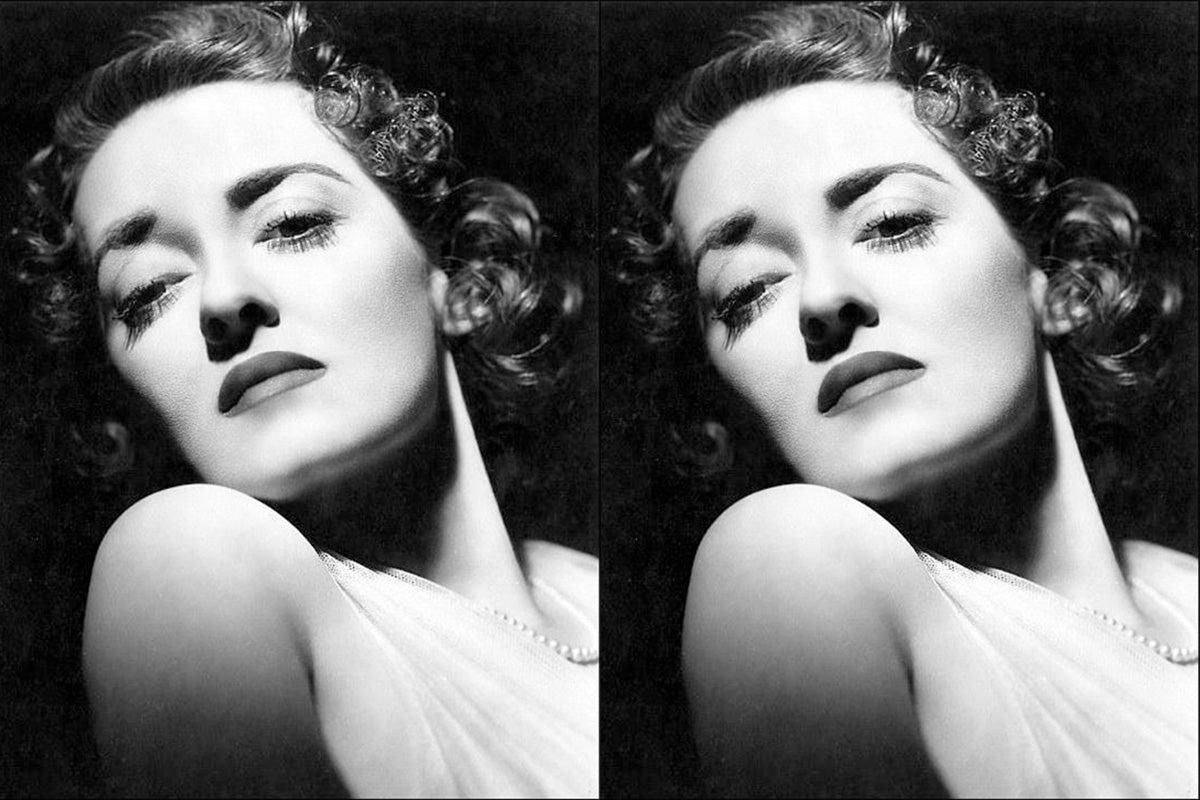
1. Butterfly (Hollywood) Lighting
These iconic images were created using butterfly lighting, which is recognizable by the small “butterfly” shaped shadow directly below the nose.
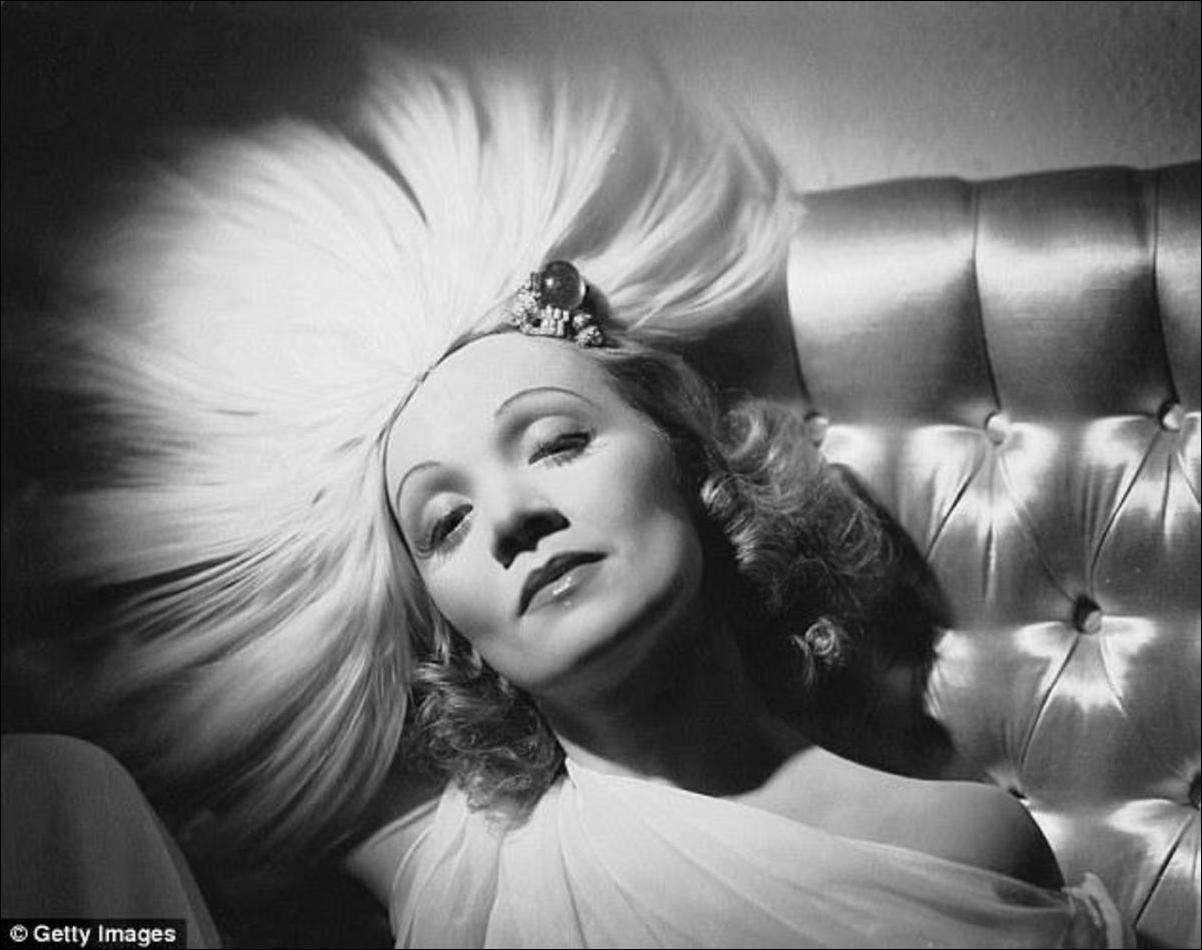
Marlene Dietrich by George Hurrell, Getty Images
Seat your subject. Place your light directly in front of them, higher than their head and angled down. You will need the light fairly close to them for best effect. Put the modelling light on, and adjust the angle of the flash head until you see the shadows form under the nose, and along the cheekbones.
Each side of the face should be evenly lit, so make sure your subject is centred.
2. Loop Lighting
Loop lighting shifts the nose shadow to one side of the face, and makes it into more of a loop shape.
Start with butterfly lighting, then shift the light position off to one side a little. The nose shadow will appear on the opposite side of the face to the side your light is on. Place your light slightly above eye level.
This lighting can create a lengthening effect on the face.
3. Rembrandt Lighting
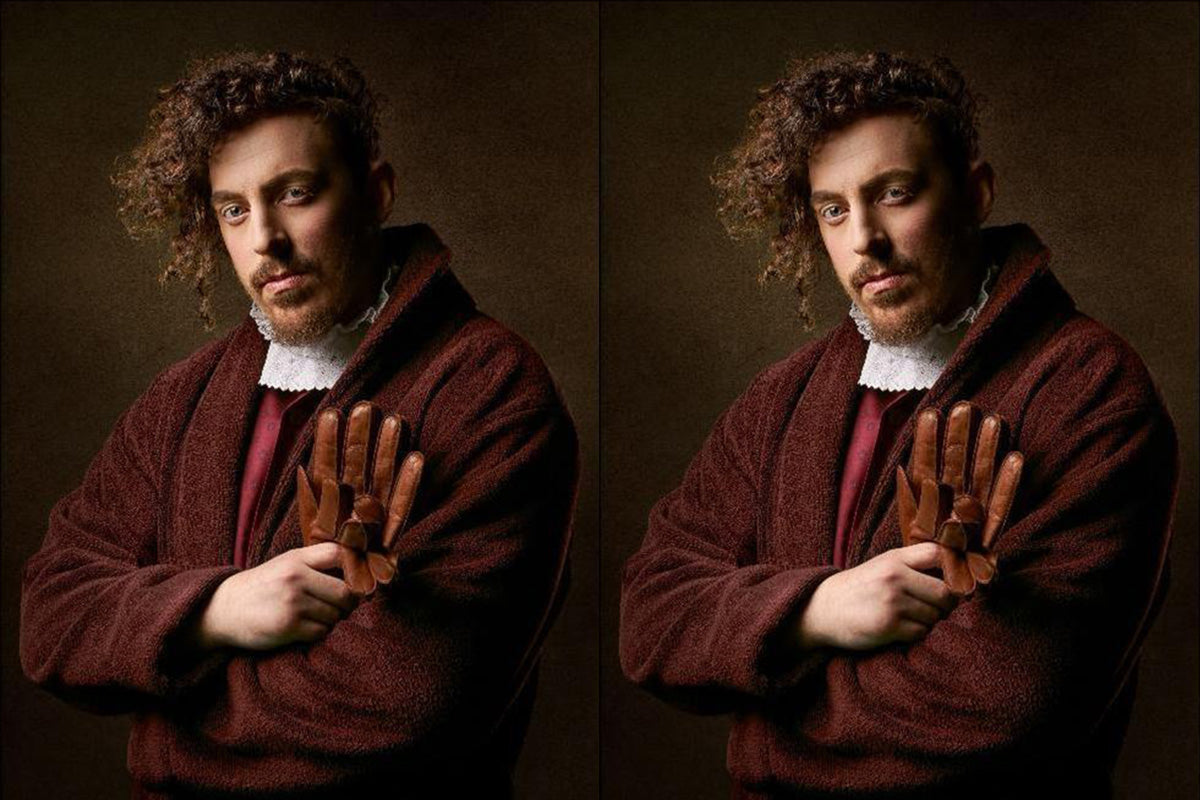
The shadow loop of the nose is elongated to connect with the shadow on the cheek, leaving one eye and part of the cheek in a triangle of light.
Start with loop lighting, then move the light upwards and to the side until the nose and cheek shadows touch. Fill the shadows with a reflector for a gentler look.
4. Split/Side Lighting

Split lighting, as the name suggests, is where half of the subject’s face is in shadow.
It’s not as popular as other lighting styles, because it’s not the most flattering.
Position your main light to the side of your model, at a 90 degree angle. Use a reflector to lighten the shadow side if too dark.
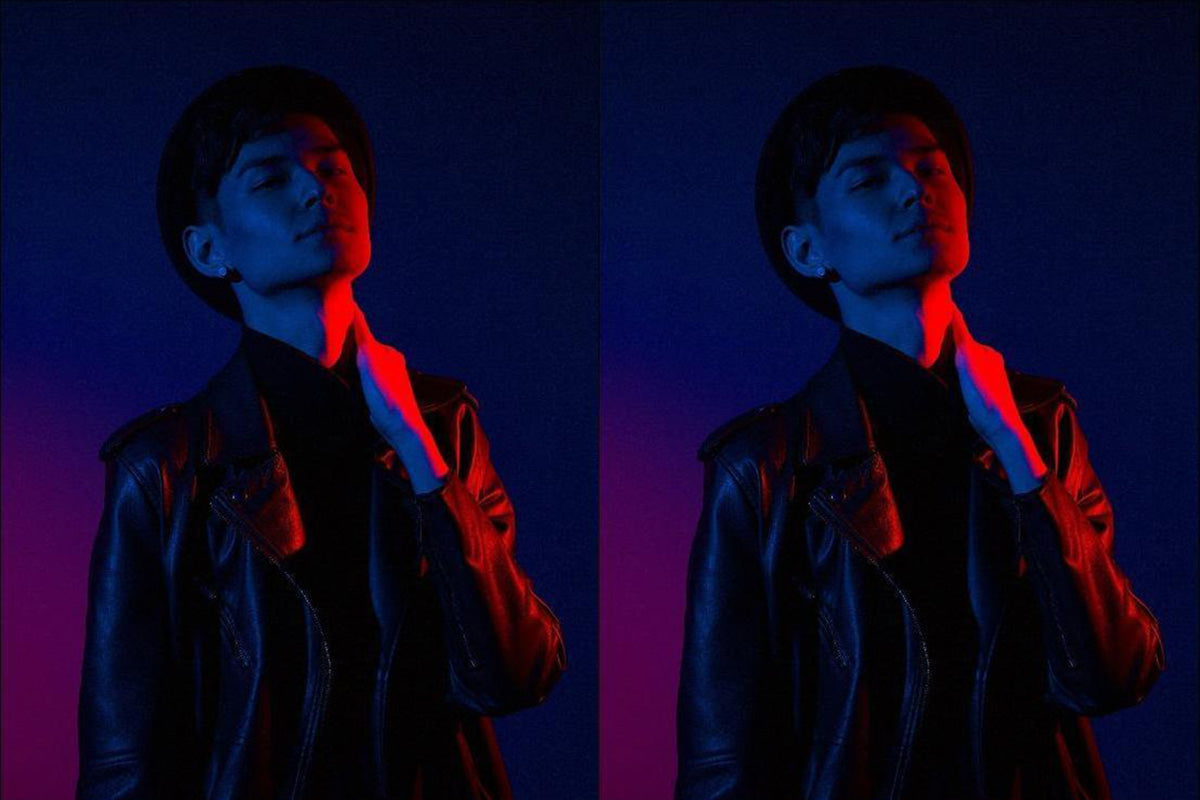
5. Profile/Rim Lighting
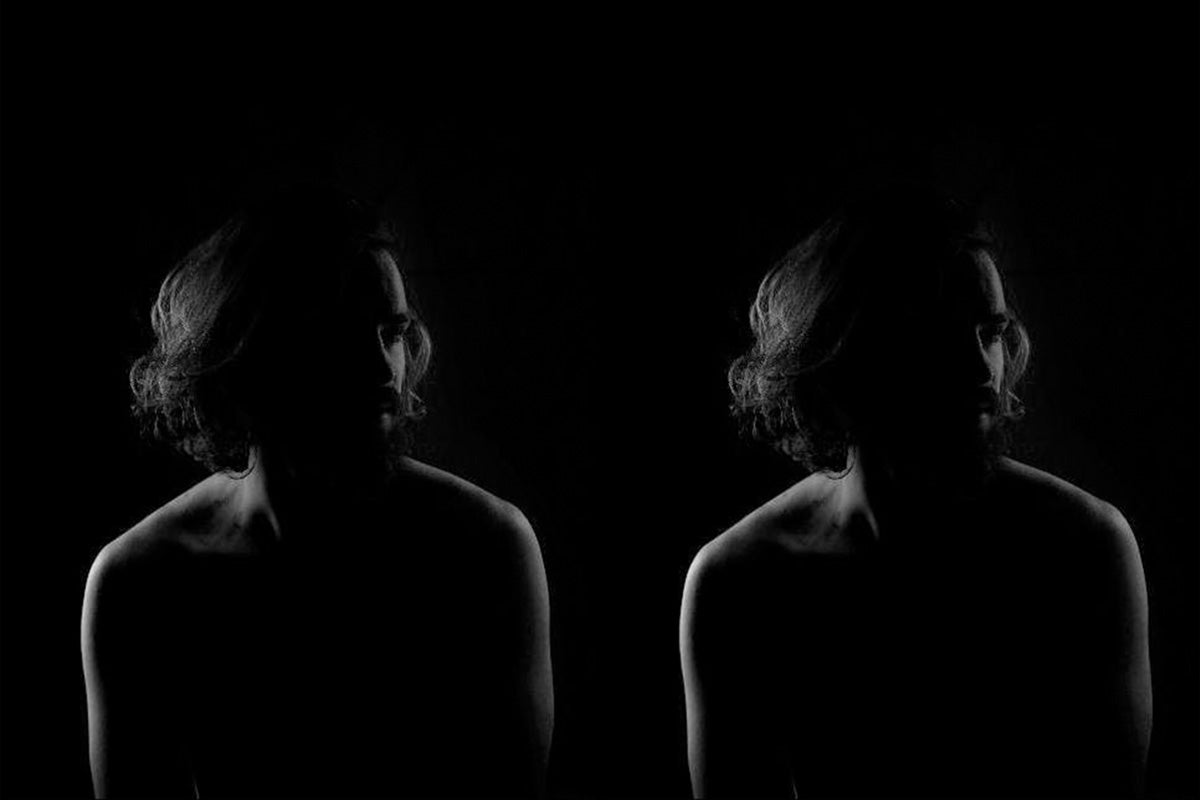
Rim lighting can be used in two ways, and is great for making a strong statement with your portrait photography lighting.
For the first technique, position the light directly behind the subject. The front of the subject will be in deep shadow, so unless you are going for the subtle look as in the image above, you will need another flash head to fill the shadows in.
The second technique is to position your subject at 90 degrees, so that you only see their profile. Put the light in front of their face at just above eye level. The aim is to light only the edge of the profile.
6. Back/Silhouette Lighting
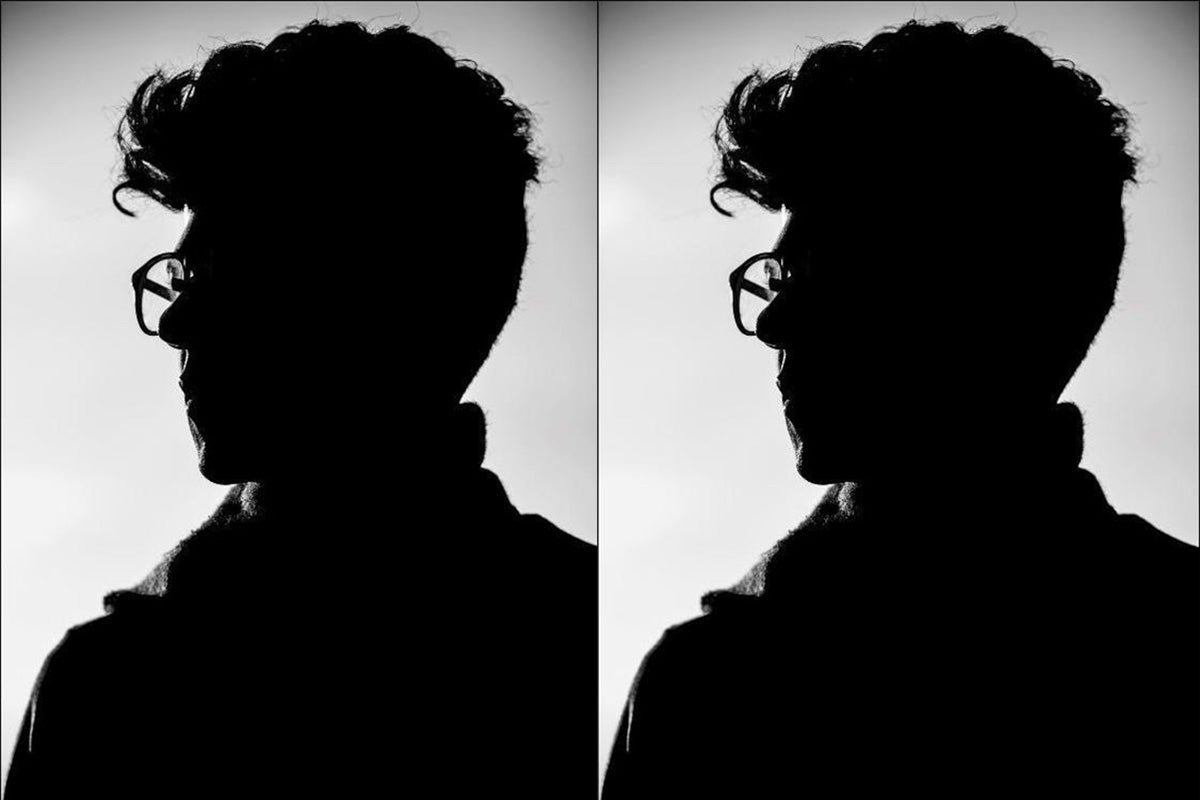
Lighting your subject directly from behind will give you a silhouette, which is great for strong poses. It’s not much different from rim lighting, but you wouldn’t use any fill light at the front.
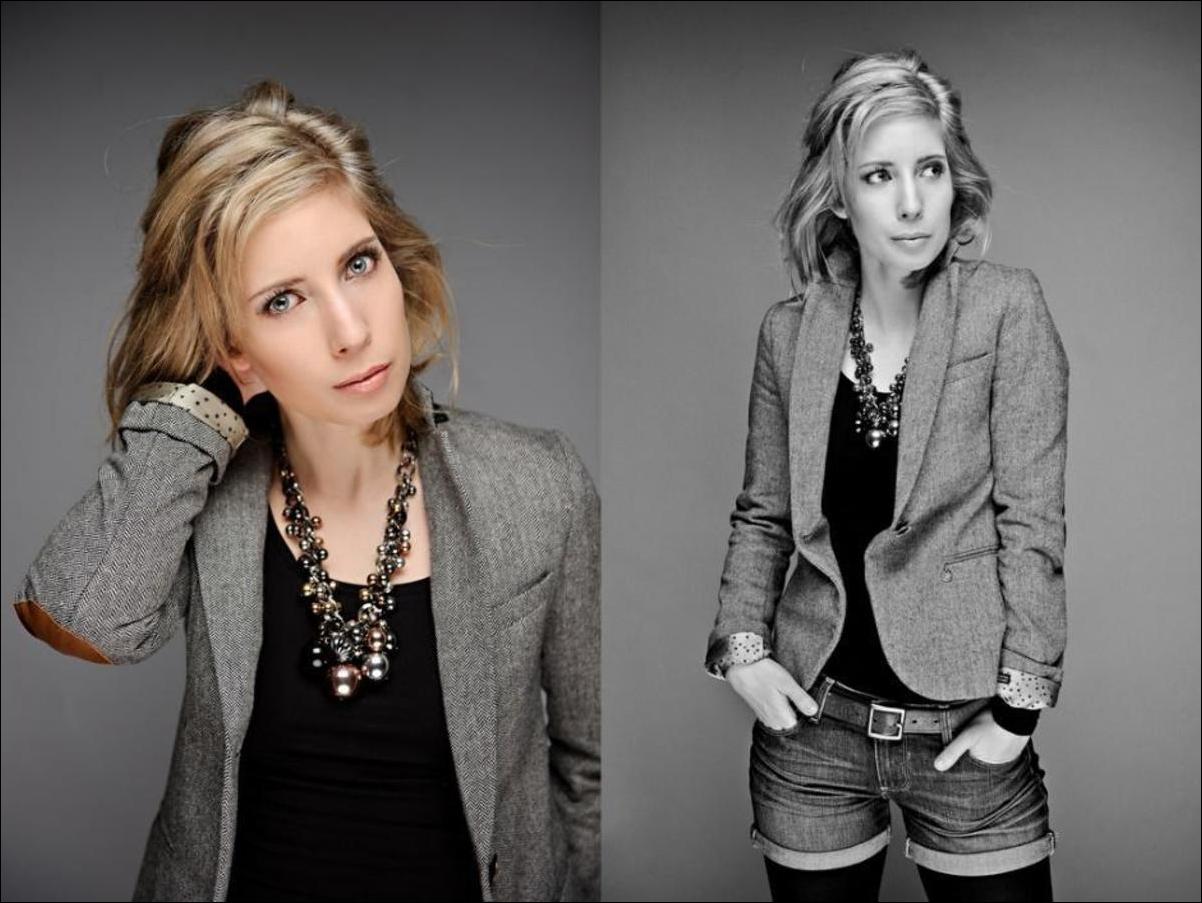
7. Broad Lighting
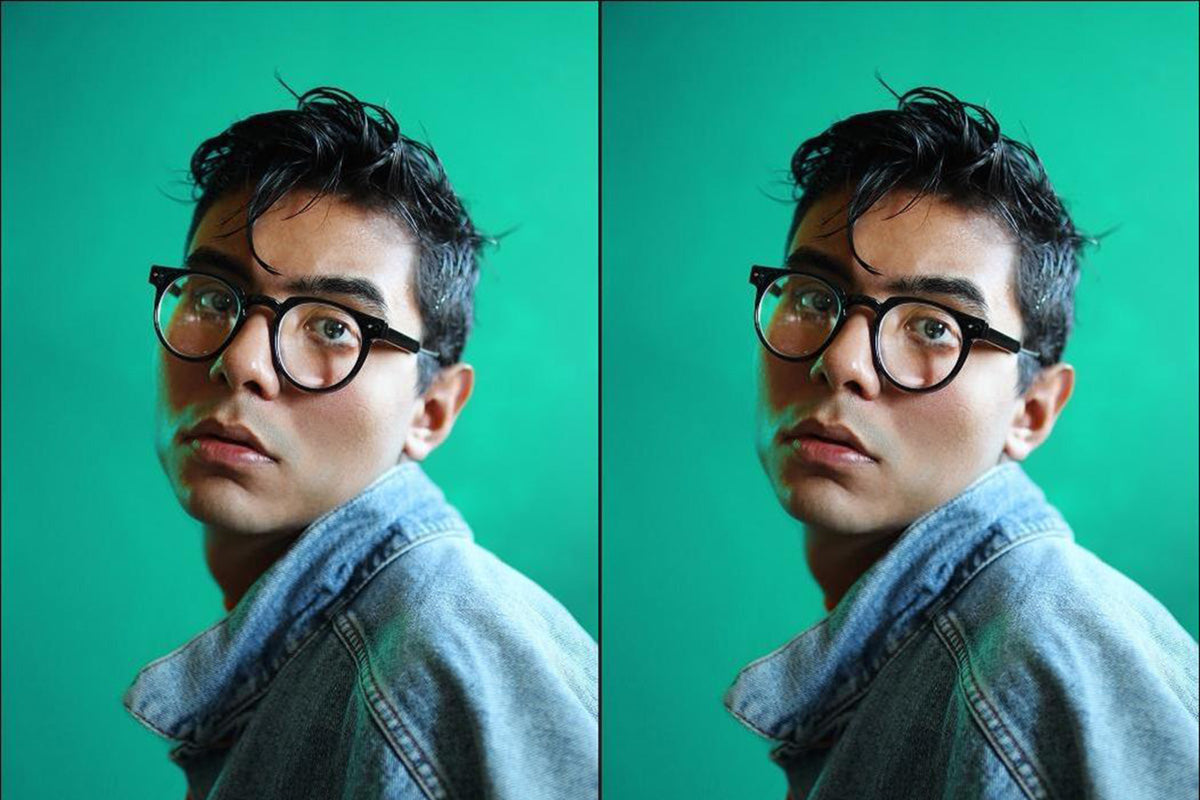
Broad lighting is great for photographing people who wear glasses, as it ensures there’s no reflections of the light source in their specs, but it can make some people’s faces look wider than usual.
Position your subject so that the side of the face that is nearest to the camera is the one that receives the most light. The subject needs to be at a slight angle to you.
8. Short Lighting
Short lighting is exactly the opposite to broad lighting – the part of the face farthest away from the camera is the most illuminated. You still need to have your subject at an angle to the camera.
This photography lighting technique is good at making broader faces appear slimmer. However, it’s a difficult style to pull off on subjects with glasses, as the reflections are hard to avoid.
9. Fill Lighting
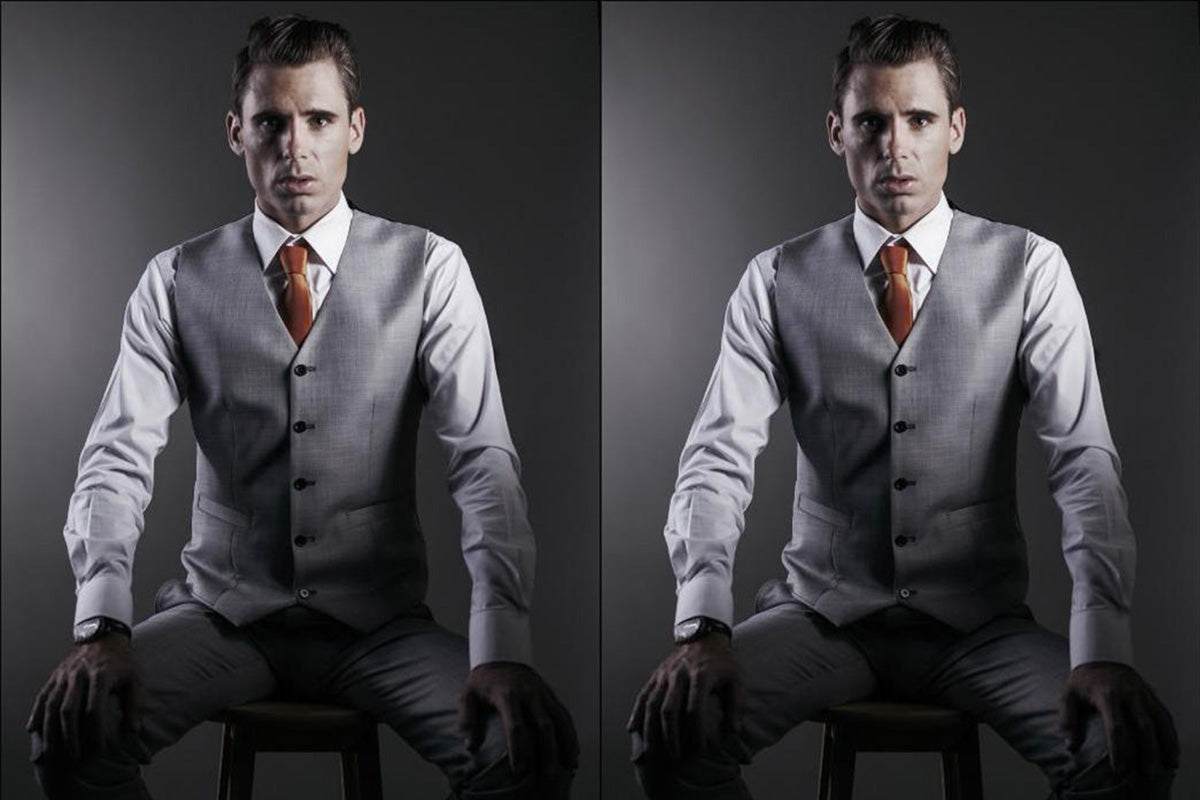
You can use a second flash head or bounce light back off a reflector to create fill light. It’s basically a way to “fill” the shadows with light that is less powerful than the main light, such as in the image above.
You just need to have your fill lighting at a lower level of brightness than your main light – around a 1 stop difference, or 2:1 ratio. For instance, if your main flash is at ½ power, set your fill flash to ¼ power, and so on.
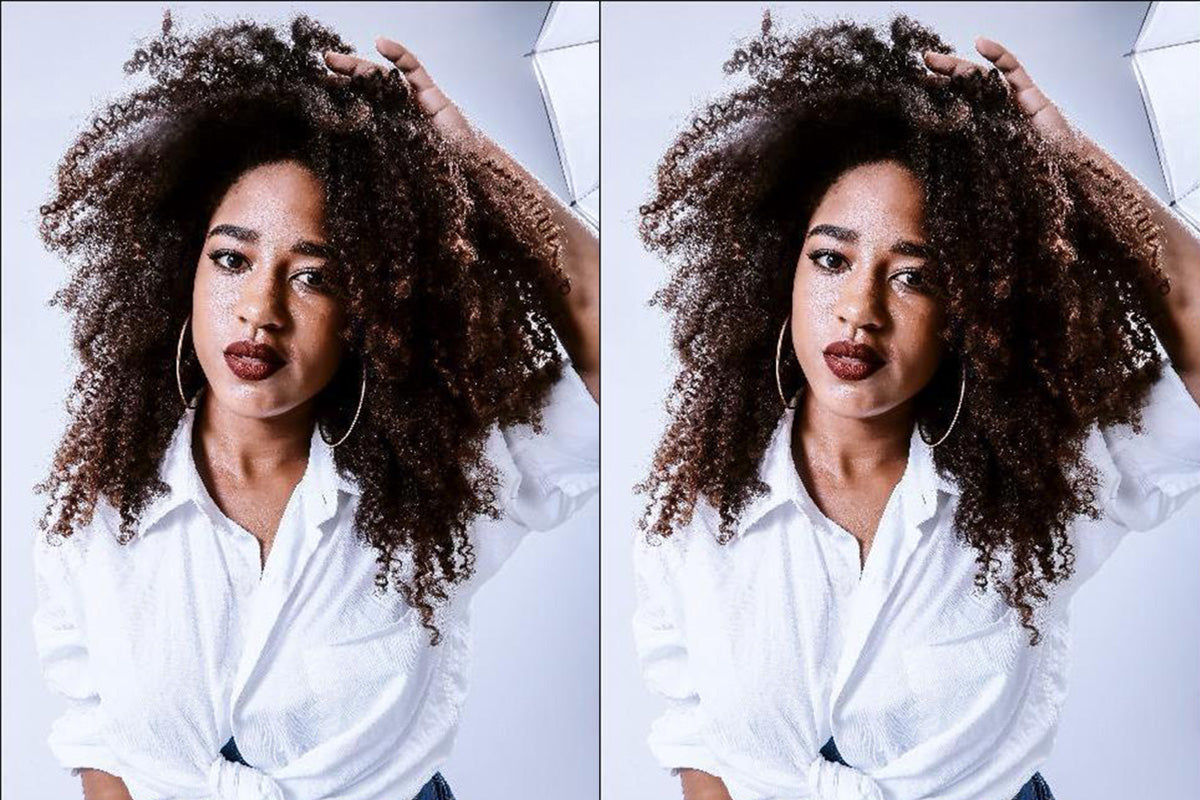
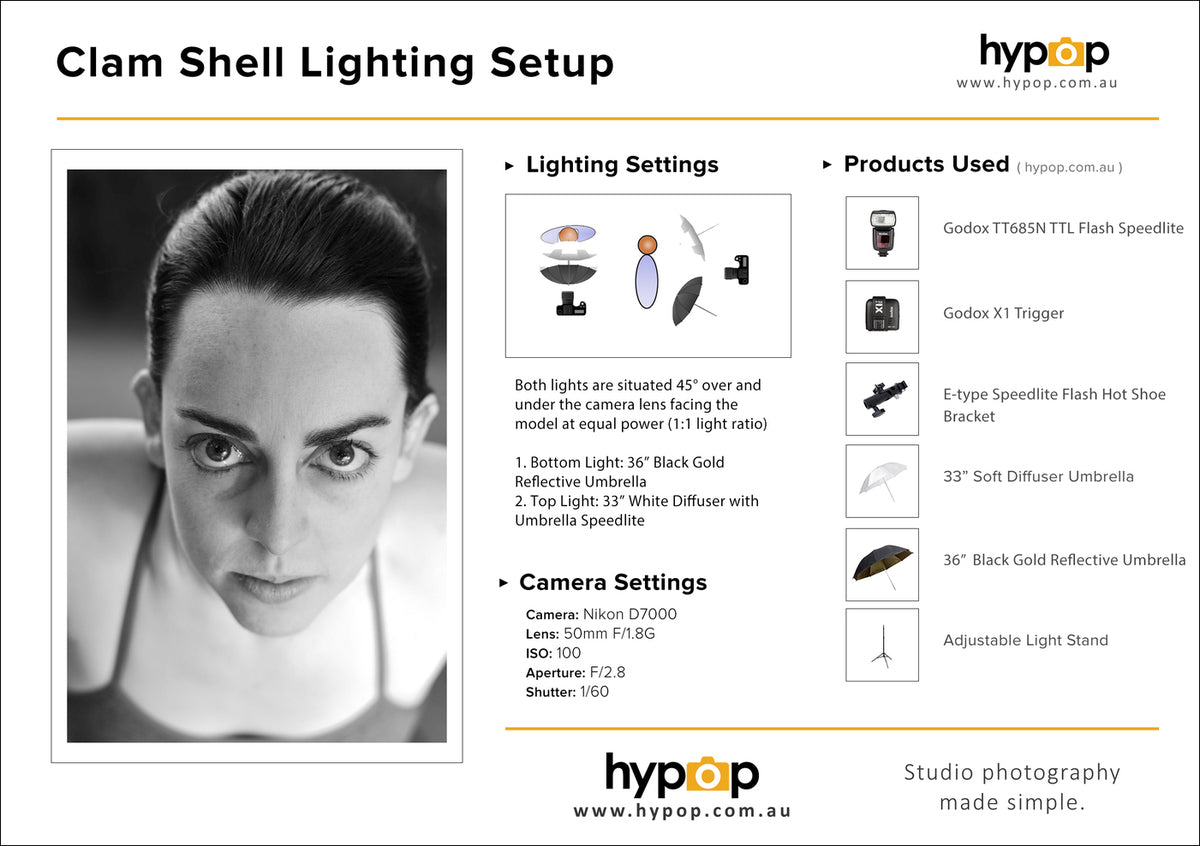
10. Clamshell Lighting
Two lights are placed facing towards your subject at a 45 degree angle. The key light is facing downwards at 45 degrees, and your fill light is facing upwards at 45 degrees – think of an open clamshell.
Start with your main light directly in front of your subject, above eye level and pointed downwards – a very basic butterfly lighting setup. Adding the second light pointing up from below will eliminate heavy shadows caused by the key light, and give a beautiful soft light with very distinctive double catchlights in the eyes.
Start with your main light directly in front of your subject, raised above eye level and pointed downwards – a very basic butterfly lighting set up. Adding the second light pointing up from below will eliminate heavy shadows caused by the key light, and give a beautiful soft light with very distinctive double catchlights in the eyes.
Final Tips for Portrait Photography Lighting
Watch Your Shutter Speed
Shutter speed needs to be fast enough to avoid camera shake, but not faster than your camera’s sync speed, or you will find a dark line creeping into your images. Set the shutter speed at 1/125th second.
Slow it Down
Many newcomers to portrait photography tend to rush through the shoot, either because of excitement or nerves. Take your time posing the model, fixing your lighting, and composing the image.
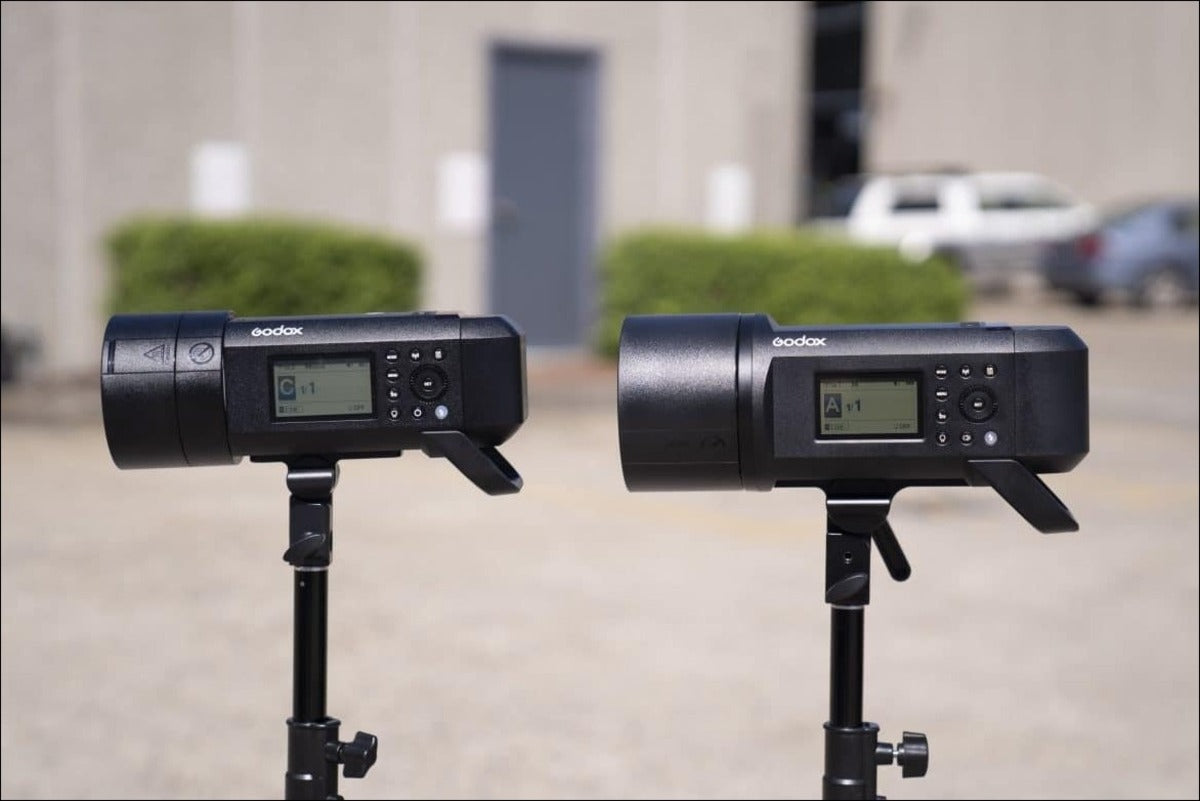
You can even take the flexibility of the studio outside, with the Godox AD600 Pro, and the Godox AD400Pro Witstro Portable Outdoor Flash Strobe. These strobes allow you to capture great outdoor portraits on even the sunniest days, and is fab for low light conditions too. With an AC adaptor, you can also use them with a power supply.
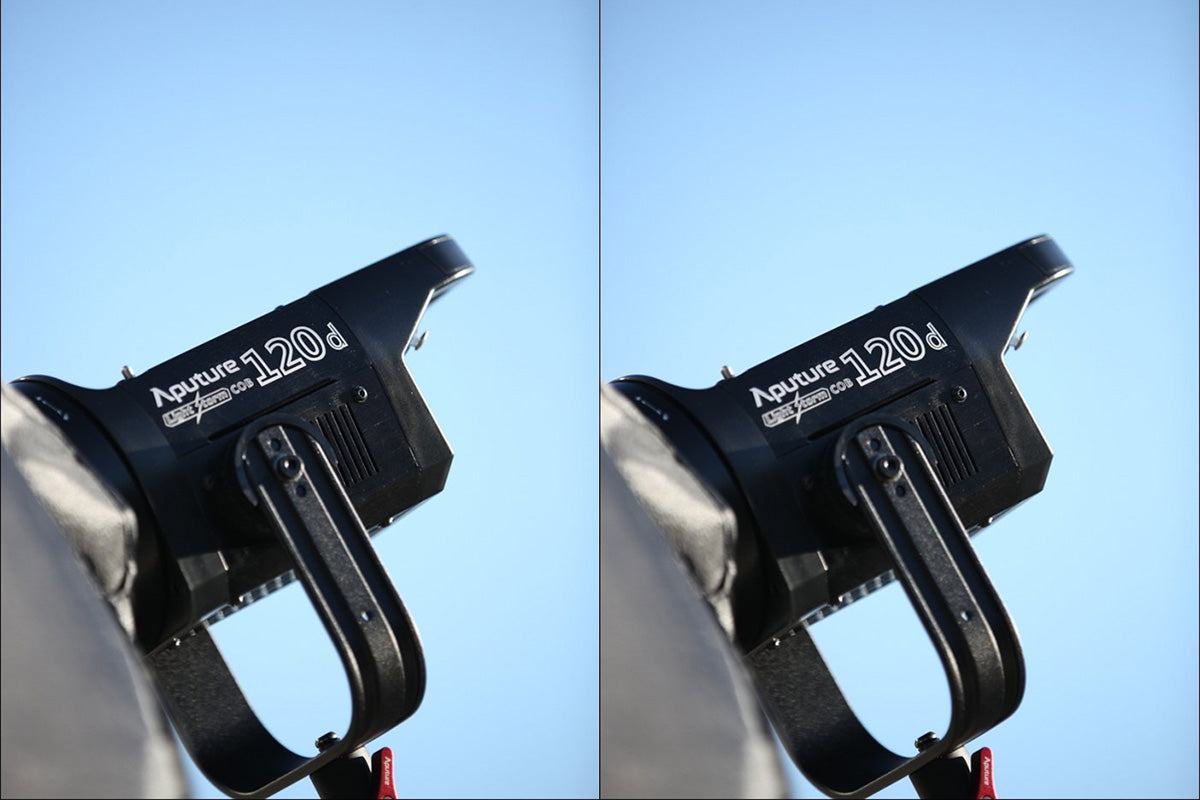
If you’re into video, the Aputure c120d Light Storm LED Studio Video Light is a professional quality continuous light with a brightness equivalence to a 1,000w tungsten light! You can also use this light for photography if you prefer continuous lighting to strobes.
Don’t be afraid to experiment with your lighting setups – the ones we’ve looked at here are just the starting points. Once you’ve mastered them, try adding more lights or adding colored gels to them for a funky effect.