Under-Exposure
One of the most common mistakes when taking a photo is that it turns out too dim. This error is known as under-exposure. This happens when the subject is indoors or when natural light is not present.
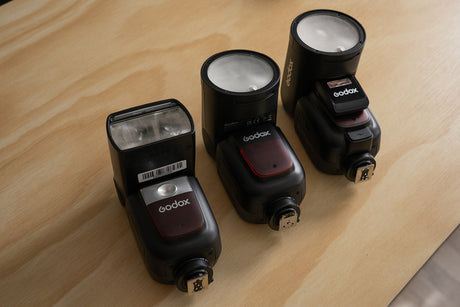
Make use of artificial light or use a fill-in flash to correct this problem. By moving the subject to the source of the light may prevent under-exposed images.
Over-Exposure
Over exposure is the direct opposite of under exposure. This means the photo is too bright that typical colours will look washed out and the highlights will be often faded or completely white. Unlike when the photo is under-exposed, correcting over-exposed photo will heavily rely on the camera you are using. Powerful flash, shutter speeds, ISO settings are some of the key features of the camera that prevent this phenomenon.
Note: Under and over exposure is not always a bad thing. Artistic shots sometimes call for under exposed or over exposed output. Examples are shown below.
Digital Noise
Digital noise is the washed out (or polka dots) effect in photos with long exposures or high ISO settings in low-light conditions. Many photographers consider digital noise to be the digital equivalent for film grain, an effect most visible in photos under low-light situations. Although the causes are the same, the effects are slightly different. Some photographers deliberately shoot images with enhanced grain for creative effect. However, digital noise degrades the image because of the irregular bright pixels within solid colours, and lacks the artistic qualities of enlarged film texture.
The post Capturing an Image – Hands-on Basics: How To Deal with Lighting Exposure and Digital Noise appeared first on Hypop Photography Tips.


