
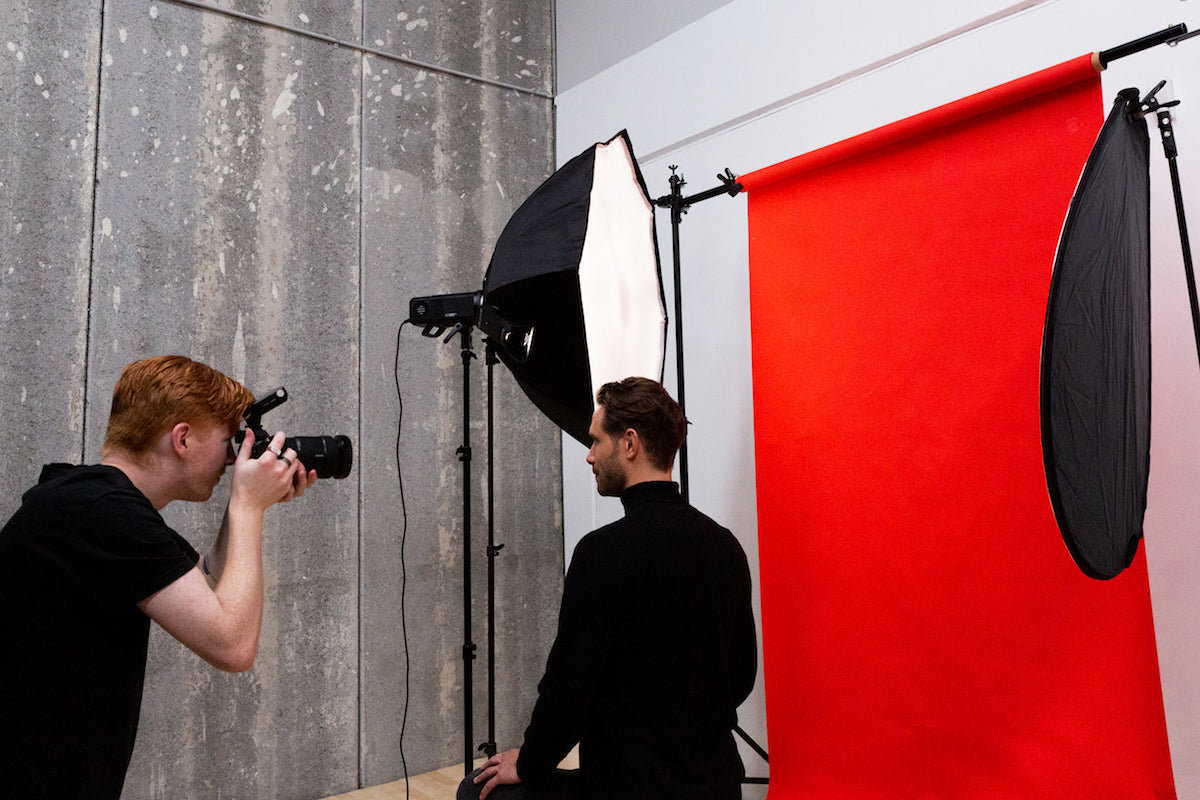
If you’re looking for the best strobe light for outdoor photography, then Godox has two models that fit the bill.
This article is going to look at the unboxing and review of the Godox AD200 outdoor portable flash strobe, and the AD200Pro, and look at the differences between the models.
AD200Pro Unboxing
Contents:
- Godox warranty card
- AD200Pro manual
- Carry case
- Tilt bracket
- Bare bulb flash head
- Bulb
- Power cable
- Charger
- Battery
The carry case looks identical to the AD200, and a lot of the accessories are the same. Only the flash head and tilt bracket are different.
AD200 and AD200Pro Comparison and Accessories Compatibility
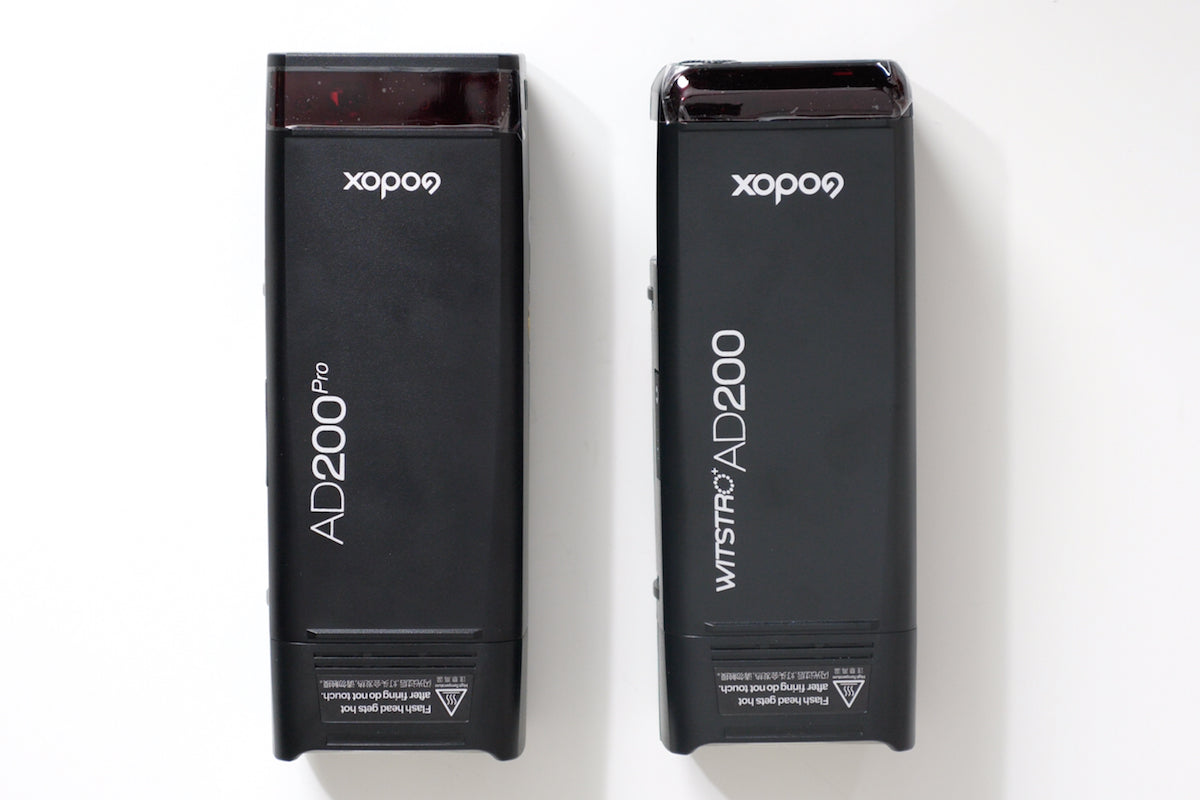
The two models are almost identical apart from some of the branding, and minor physical differences on the flash heads.
The AD200Pro has the same 200-watt output, the bare bulb head, and the Fresnel head that’s included. Many of the accessories are also the same, and the AD200Pro is compatible with accessories from the AD200 range – if you have the BD-07 Barn Door Kit, LED head, reflectors, beauty dishes and softboxes, then they will all fit the AD200Pro.
AD200Pro X-Wireless Trigger System (X1T, X2T, X-Pro)
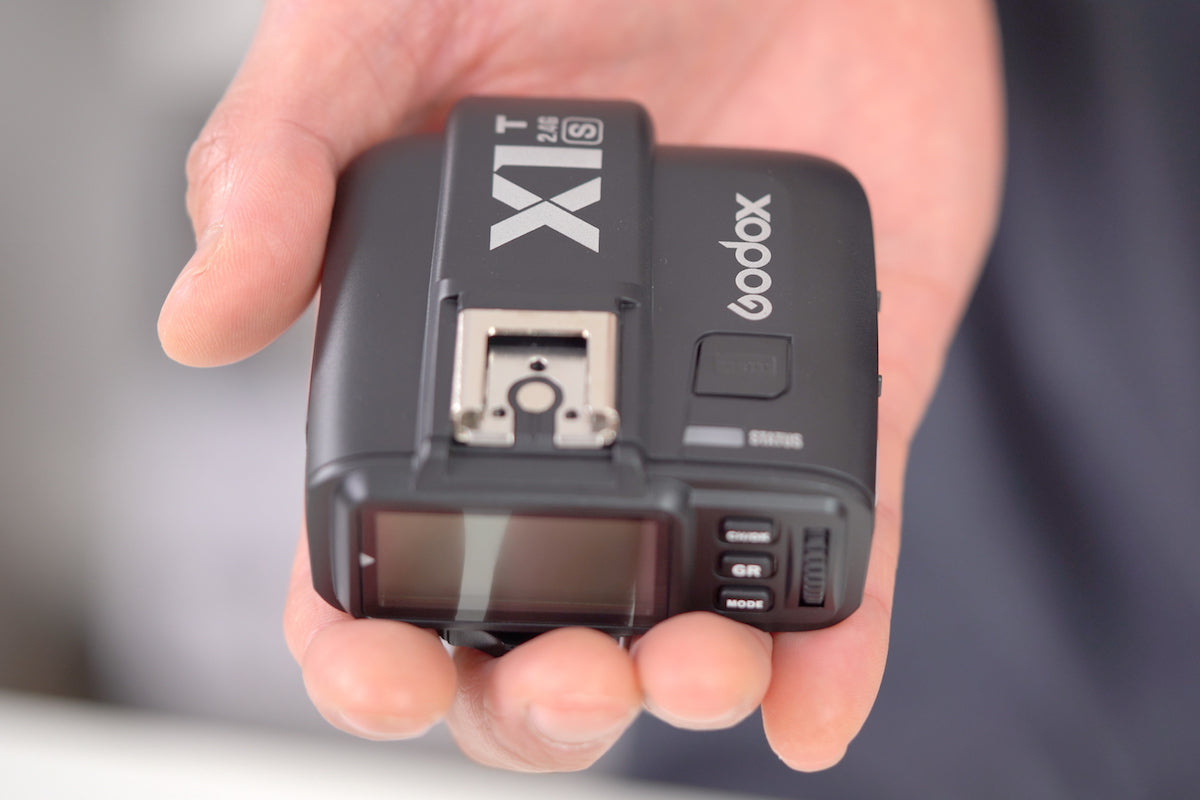
The X wireless system is compatible with the AD200Pro – the X1 triggers, XPro triggers, and the X2 triggers (soon to be released).
Physical Differences Between the AD200 and AD200Pro
New LCD Bumper Screen
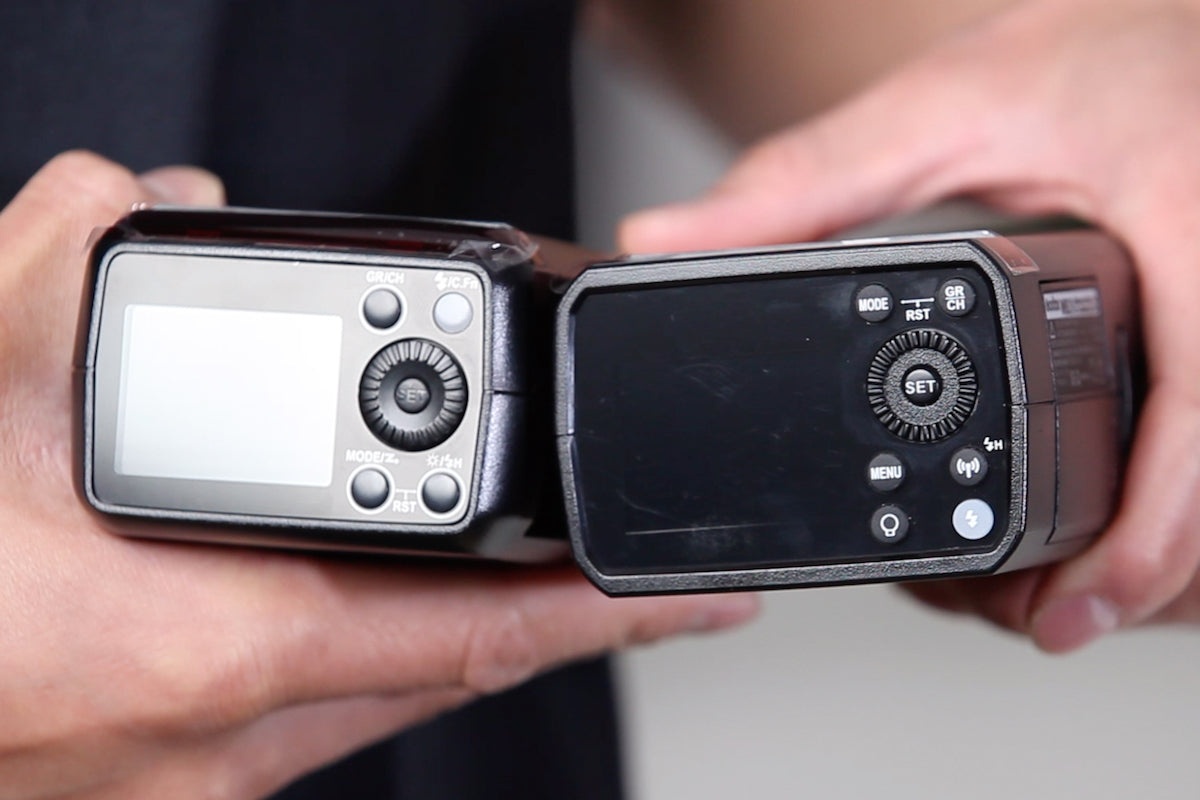
On the AD200Pro, the LCD display has been recessed into the back, mainly because if the AD200 was dropped, it often landed on the LCD screen and damaged it.
This bumper probably adds around half a centimetre in extra length to the AD200, but it’s not that great in terms of protection. It’s possible that a third-party manufacturer will release a different bumper (perhaps silicon) for it instead that could increase damage protection.
New Mounting Points and Tilt Bracket
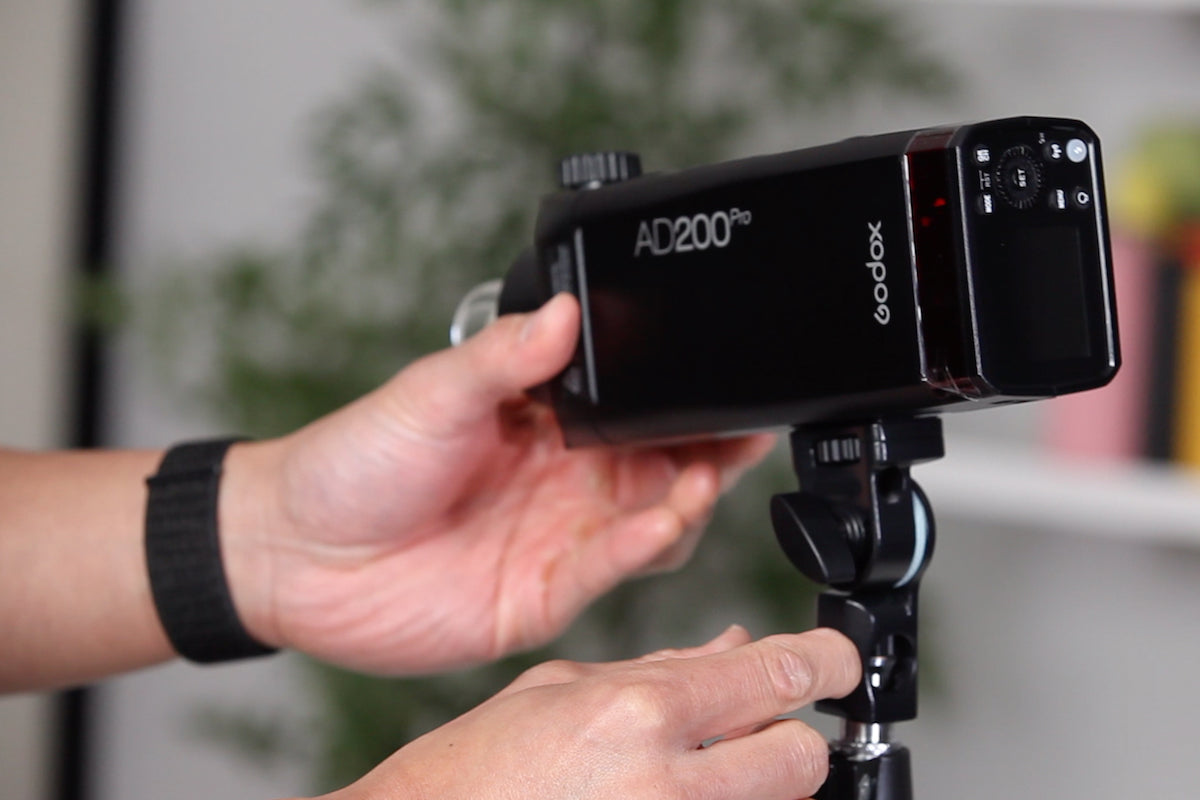
Another physical change is the different mounting points. It still has quarter-inch threads mounting points on the side and bottom, but there are two notches on either end that line up to the new AD200Pro Tilt Bracket.
This accessory has two matching notches for the flash head, and it has a screw mechanism that mounts the quarter-inch thread and securely locks the AD200Pro into the bracket itself.
The previous bracket only locked through the quarter-inch thread, so when the flash was on a stand and you had a lighting modifier on it, there was a fair bit of strain on the mounting point, and it got damaged in some cases or even broke completely from the casing.
The new notches add a bit of extra reinforcement for mounting with the tilt bracket.
On/Off Button Design Changes
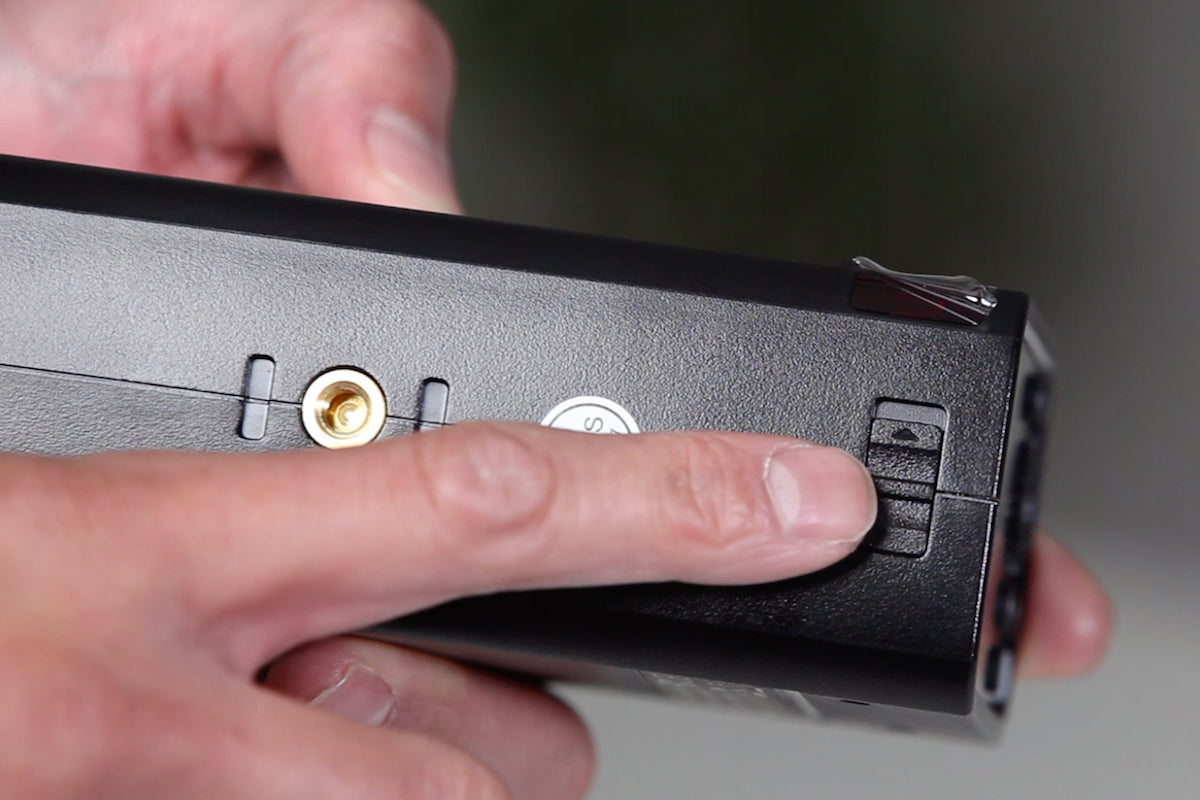
The on/off button is still in the same position, but there is no longer the USB mini port there.
The other side still has the ports for the Godox legacy receivers and the sync port. It also has the same latch buttons for unlocking the battery and the heads, although it doesn’t have any notices to tell you that one is for the battery and one for unlocking the head (unlike the AD200).
Back Panel
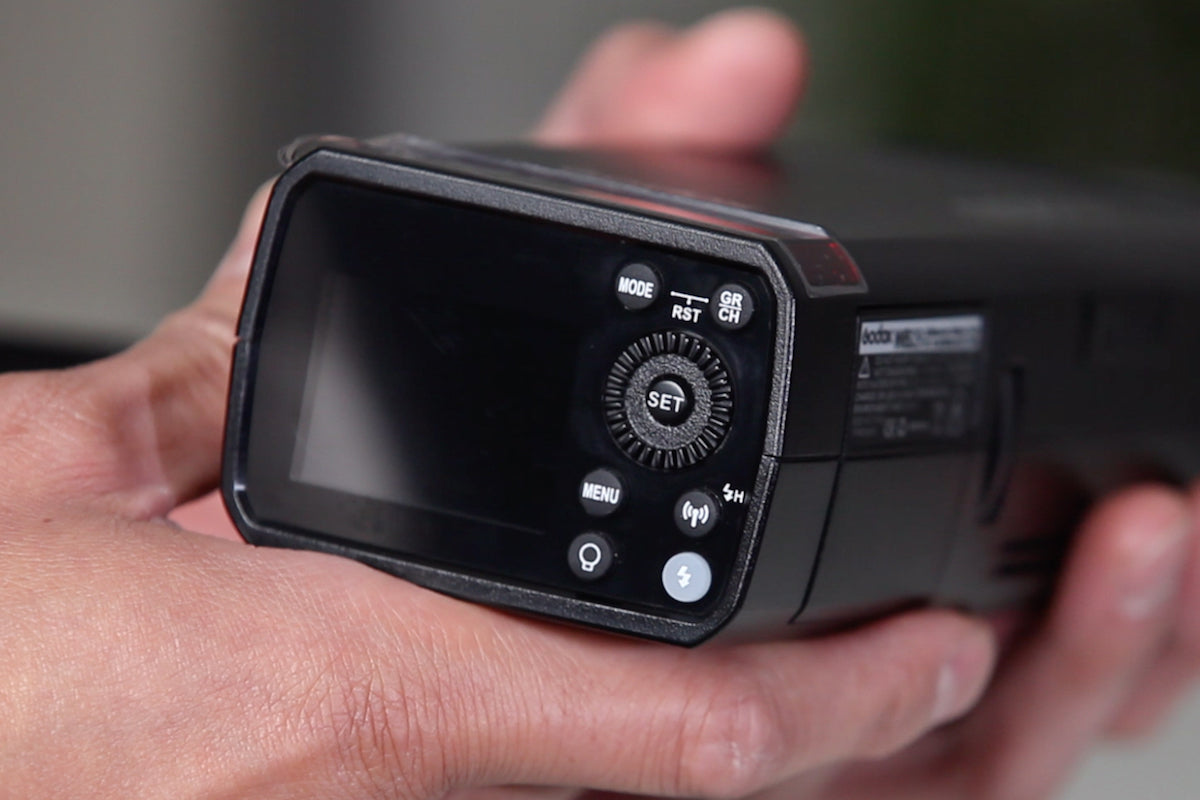
Most of the buttons are in the same position as the AD200, but the flash button is down at the bottom on the AD200Pro.
It still features the bulb button, modelling light button, menu, and wireless button. It also has the set and spin wheel and the mode and group channel button.
AD200Pro Pricing (AUD)
The AD200Pro is more expensive than the AD200, so how do Godox justify that?
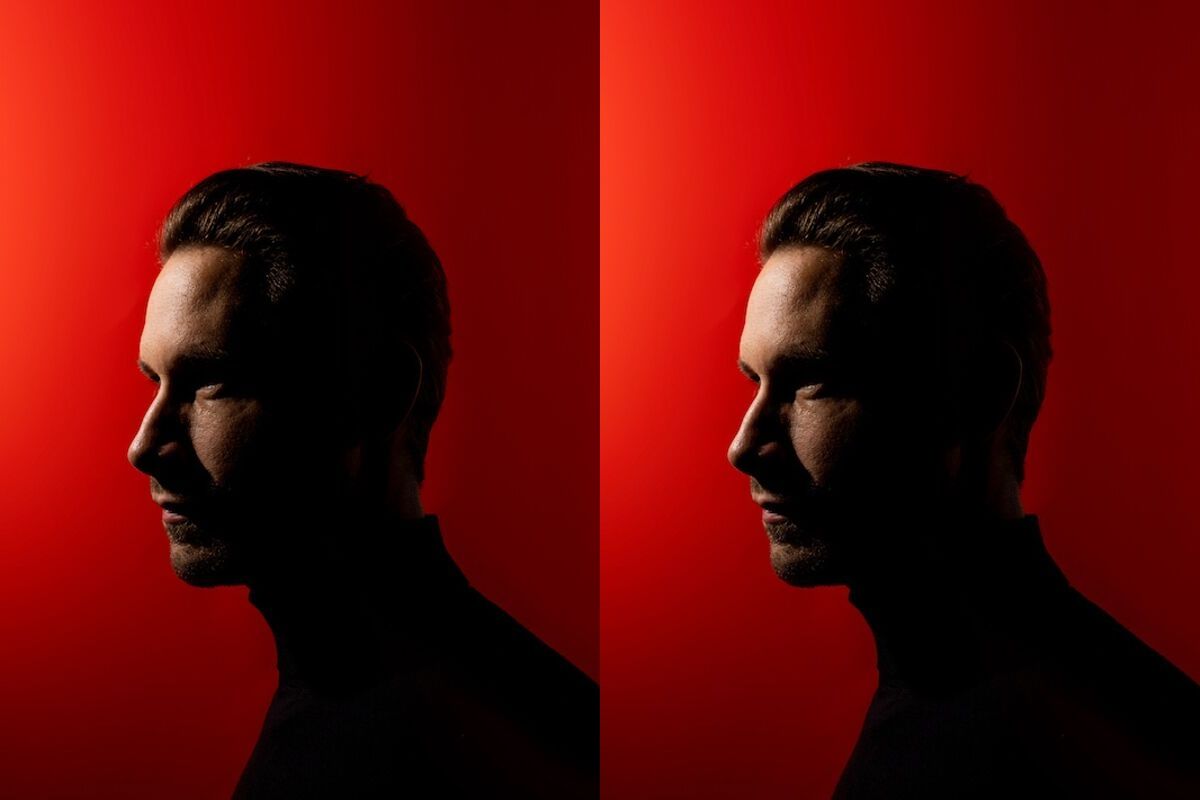
New AD200Pro Colour Stability Mode
A major new feature is the Colour Stability Mode. This mode allows you to enable it through the menu setting, and gives you a variance of plus or minus 100 Kelvin.
The AD200 had a colour variance of around 200 Kelvin, so there is a lot less colour variance with the AD200Pro. (it’s still quite a large variance compared to the 600 and 400Pro models, which have a plus or minus 50 Kelvin difference).
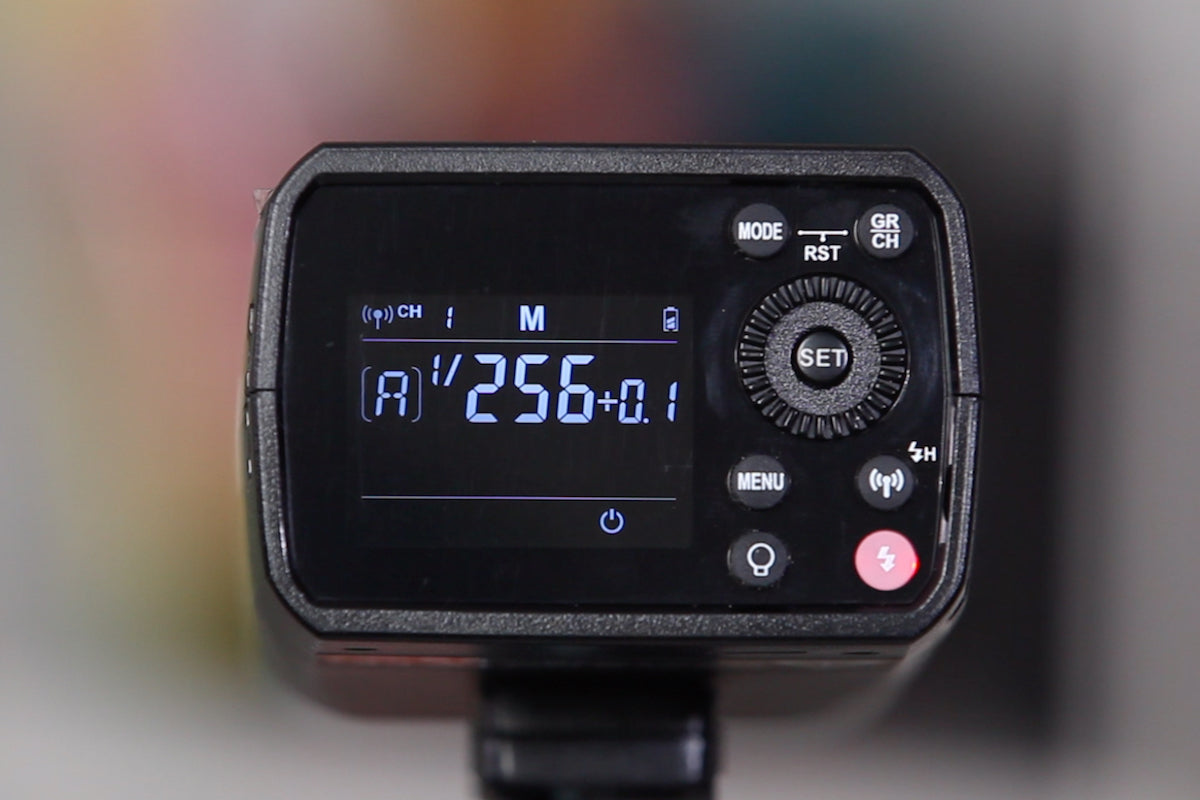
There is also a new feature that allows you to increase or decrease the stops by 0.1, instead of the 0.3 or third stop with previous models.
This allows you to fine-tune your lighting output more than with the AD200. The new tilt bracket and recessed LCD screen also make the AD200Pro an attractive option.
New AD200Pro Faster Recycle Time
The recycle time on the AD200 at full output is 2.1 seconds, and with the AD200Pro, it’s down to 1.8 seconds – 0.3 seconds of recycle time improvement.
This is great for those who shoot weddings and events where every split-second counts in terms of getting the shot and you need your flash to keep up with you.
AD200Pro Menu Options
How to Update Your AD200Pro’s Firmware
On the back screen of the AD200Pro, there is a USB-C port underneath, towards the rear of the flash to allow you to update firmware.
Mode Button (TTL, M, or Multi)
The mode button allows you to cycle through different flash modes – TTL, Manual, or Multi.
Group/Channel Button
The group/channel button is a two-function button, so a single press lets you cycle through the different groups. The press-and-hold function lets you highlight a channel – once it starts flashing, you can use the spin wheel to cycle through the different channels for your wireless trigger.
Wireless Button
This button lets you turn your wireless settings on and off, so if you are using a sync cable, you can turn it off.
Test Button
The test button lets you test-fire your flash.
AD200Pro Modelling Lamp
The modelling lamp button allows you to turn your modelling lamp on or off so you can see how your subject will be lit.
Menu Button (Functions)
The menu button lets you cycle through all the custom functions that the AD200Pro has:
F1 – Audible Beep (On/Off)
This allows you to turn the audible beep on or off depending on your preferences.
F2 – Slave Groups (S1/S2)
F2 lets you choose different slave groups - if you want to go through slave one or two for groups of flashes, or turn it off altogether.
F3 – Auto Time Out Delay (30MIN/60MIN/90MIN/Off)
The auto time out delay will save your batteries by turning your flash off if you haven’t used it for a set period of time – 30 minutes, 60 minutes, 90 minutes. You can even turn it off.
F4 – Second Curtain and Rear Curtain Sync
This function allows you to select the delay in fractions of a second, so you can turn it off or have it on if you are using rear curtain sync.
F5 – Masking Function (N1/N2/Off)
The masking function is similar to other Godox flashes that also have this feature. It lets you set different groups of flashes to fire off first or second, which is great for eCommerce shoots.
F6 – Flash Duration Display
This allows you to see the flash duration on the display at the bottom next to the output. This duration changes as you change the output level of your flash.
F7 – Wireless ID (01-99/Off)
This function lets you set the wireless ID of your flash, so if you or others are using Godox flashes nearby, it won’t set off your flash accidentally. You can set your wireless ID between 1 and 99, so it lets you reduce flash interference by other Godox strobes.
F8 – Colour Stability Mode
A simple on/off option lets you enable the colour stability mode to reduce colour variance from shot to shot.
Conclusion
So, which is the best outdoor flash strobe? There’s around $100 price difference between the AD200 and AD200Pro, but the AD200Pro does have colour stability, faster recycle time, a new tilt bracket, mounting points, and recessed LCD screen.
The AD200Pro is a great flash for wedding, events, and eCommerce photographers, and also for those who need accurate colour stability in their images. However, the choice you make all comes down to personal preferences, your budget, and type of photography you do.
For more photography lighting and equipment, visit our main page www.hypop.com.au.