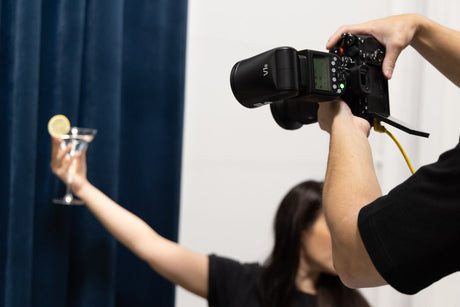

Wedding photography can be daunting, especially in Australia, where challenging weather conditions often present themselves. Adaptability and resourcefulness are the keys to success, but appropriate equipment gives the photographer many advantages.

Photo Credits: All photos used with permission and courtesy of Steffy Marcella (@steffymarcella).
Understanding Common Difficult Lighting Conditions
Harsh midday sunlight: A beaming sun offers vibrant and sharp shots but casts harsh shadows. Looking into direct sunlight results in unflattering expressions. And the sun blasts away details on light-coloured clothing, such as a bridal dress.
Low-light indoor venues: Photographing in a low-light venue has many hurdles. For instance, tungsten lighting can cast a warm glow but affects skin tones, and fluorescent lighting introduces a green tinge that is unacceptable for portraits. To compensate for low light, photographers often use high ISO settings, but this comes at the cost of introducing grainy texture to the image.
The golden hour and sunset: Photographing at the end of the day brings a strong contrast between the well-illuminated areas and the shadows. The light changes rapidly during this time, necessitating frequent adjustments for exposure. White balance can also be tricky due to the shifting colour temperature.

Photo Credits: All photos used with permission and courtesy of Steffy Marcella (@steffymarcella).
Techniques for Harsh Sunlight
Managing harsh shadows with strategic positioning: Ensure that everyone is either in the sun or shade, avoiding a situation where half of the group is overexposed while those in the shadows are underexposed. Shaded areas provide softer, diffused light that is more flattering than harsh light.

Photo Credits: All photos used with permission and courtesy of Steffy Marcella (@steffymarcella).
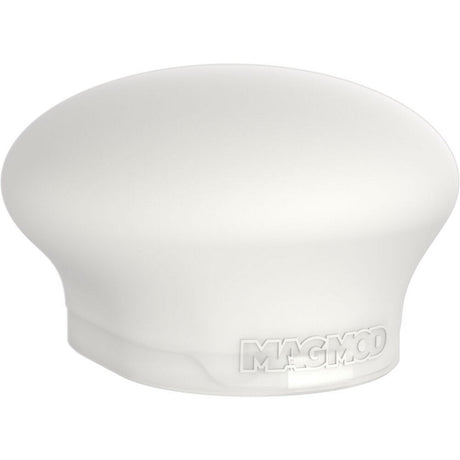
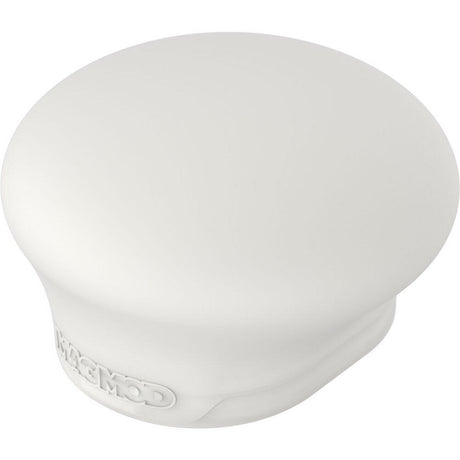
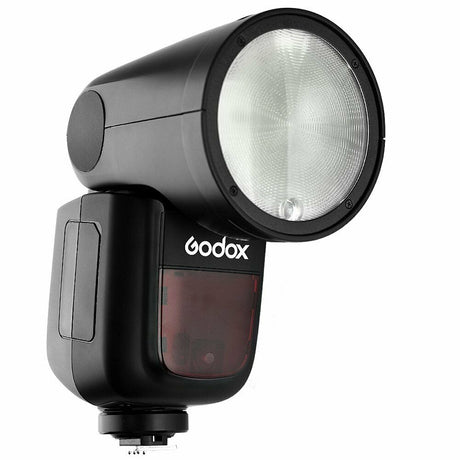
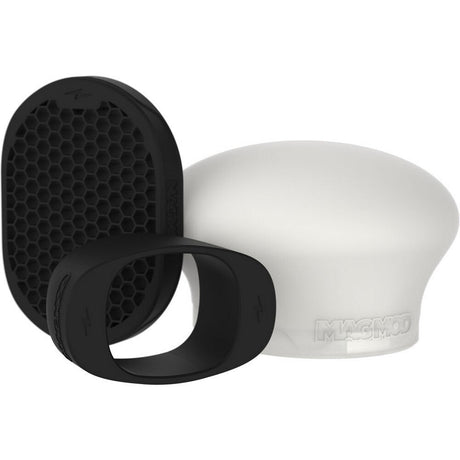
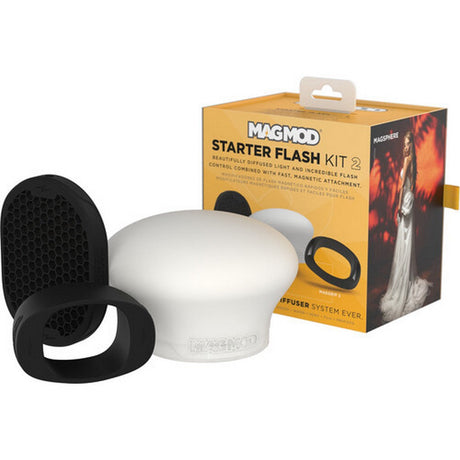
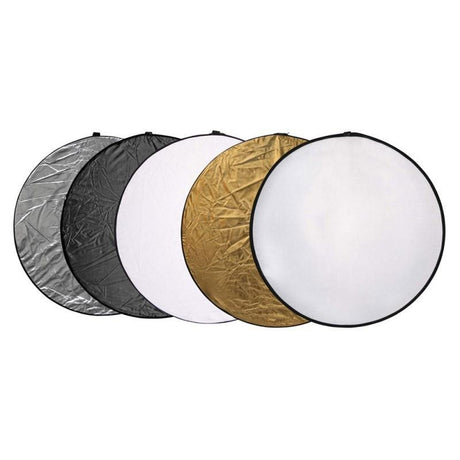
Softening sunlight with diffusers and reflectors: A fill flash with a diffuser helps balance the exposure, eliminates shadows and reduces hotspots. A MagMod MagSphere 2 diffuser attaches magnetically to your hot shoe flash via an optional MagGrip 2 adapter. It shapes the flash into an omnidirectional light source for flattering portraits. This Mag Sphere is designed to work with popular round heads such as the Godox V1. A MagMod Starter Flash Kit 2 includes a grid, dome and MagGrip 2 adapter, which secures over a flash head and provides a magnetic base for the other two modifiers. Using a white reflector provides a softened fill light. Silver reflectors add more intensity and brightness, while gold ones bring warmth to the image.

Photo Credits: All photos used with permission and courtesy of Steffy Marcella (@steffymarcella).
Timing and choosing the right angles for optimal results: Time your photography to make use of softer light. Having subjects turned entirely away from the sun removes the problem of squinting. If backlighting isn’t ideal for your composition, opt for side lighting, which adds depth and dimension to images.

Photo Credits: All photos used with permission and courtesy of Steffy Marcella (@steffymarcella).
Overcoming Low-Light Indoor Challenges
Appropriate camera settings for low-light environments: Select a wide aperture, such as f/1.8 or f/2.8, to allow more light to reach the sensor. This creates a shallower depth of field, which can be used to isolate subjects. You’ll need a slower shutter speed in low light to activate the sensor or increase the ISO setting to make the sensor more light-sensitive. However, be mindful of noise that results from higher ISO values. Also, be aware that autofocus systems may struggle to lock onto subjects when attempting low light photography. Consider switching to manual focus and using Live View or Focus Peaking to ensure your subject is sharp.

Photo Credits: All photos used with permission and courtesy of Steffy Marcella (@steffymarcella).
Leveraging prime lenses and image stabilisation: A slow shutter speed brings more light to the sensor, but you increase the risk of camera shake, so use the image stabilisation feature on a lens or camera. A prime lens has wide maximum apertures, which allows more light to enter the camera. Since prime lenses have simpler optical designs than zoom lenses, they have better image quality and reduced aberrations and ghosting.

Photo Credits: All photos used with permission and courtesy of Steffy Marcella (@steffymarcella).
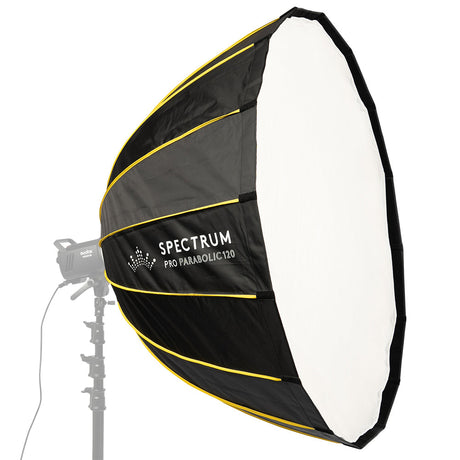
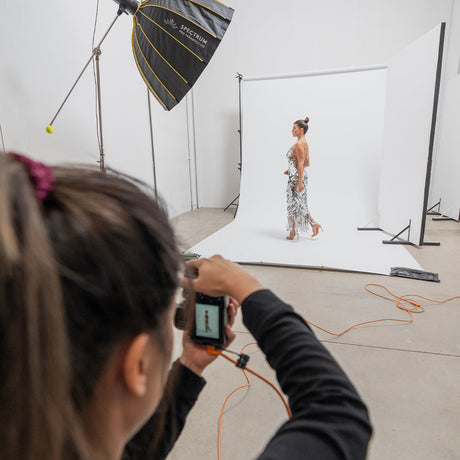
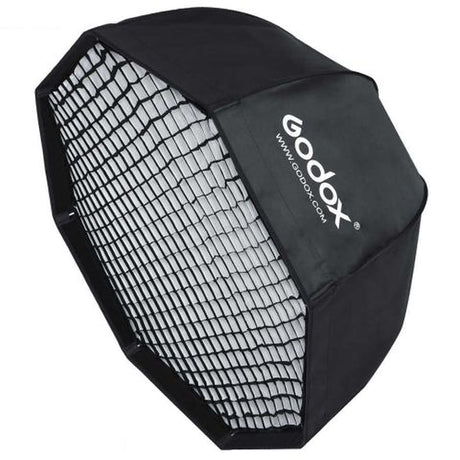
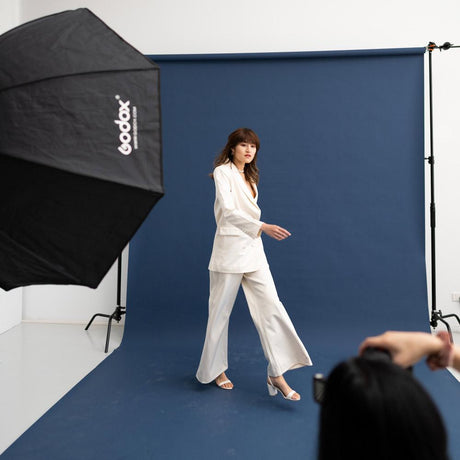
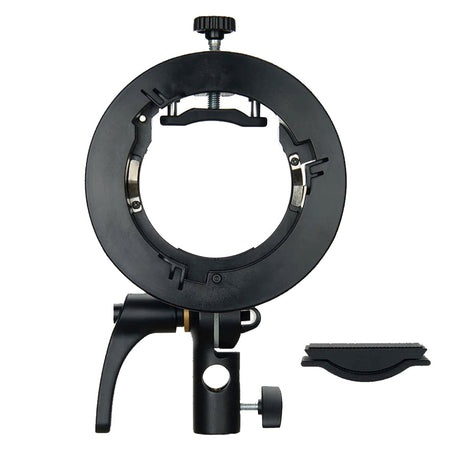
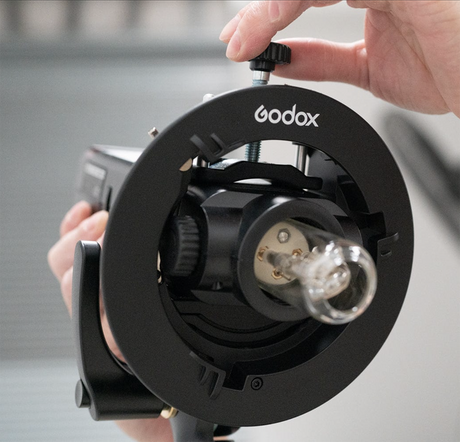
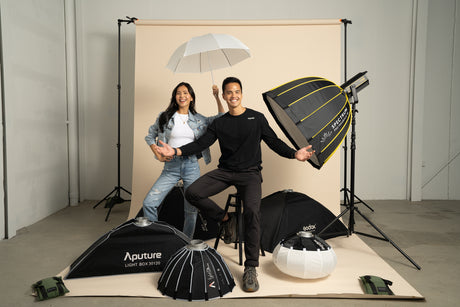
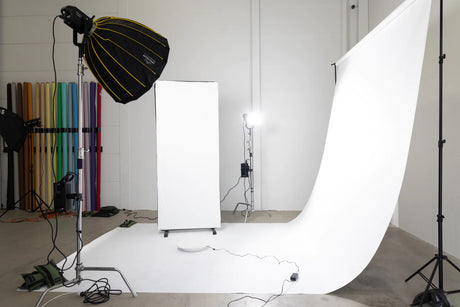
The use of off-camera flash for indoor illumination: Off-camera flashes give control over the direction and quality of indoor photography lighting. These can be used with modifiers such as the Spectrum Pro Collapsible Deep Parabolic Softbox or the Godox Collapsible Octagon Softbox with Grid Light Modifier. When you want to use a softbox but only have a speedlight, use the Godox S2 Speedlite Flash Bracket for Bowens / S-Type Mounts. Indoor photography lighting is made easier with external flashes.

Photo Credits: All photos used with permission and courtesy of Steffy Marcella (@steffymarcella).
Capturing Magic During the Golden Hour and Sunset
Harnessing the beauty of soft, warm light: The golden hour, which occurs shortly after sunrise and just before sunset, provides an appealing glow that creates warmth and serenity in photographs. It’s the easiest form of low light wedding photography.

Photo Credits: All photos used with permission and courtesy of Steffy Marcella (@steffymarcella).
Ideal timing and photography techniques during these moments: The evening golden hour lasts about an hour before sunset. Positioning your subject with the sun behind them creates a beautiful backlighting effect with a glowing rim around the person. At dusk, use a slow shutter speed combined with fill light to illuminate the subject while capturing the colours in the sky. Shooting into the sun can capture lens flare, which adds a touch of magic to photos.
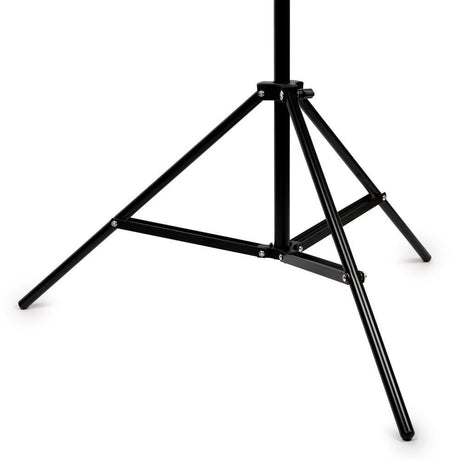
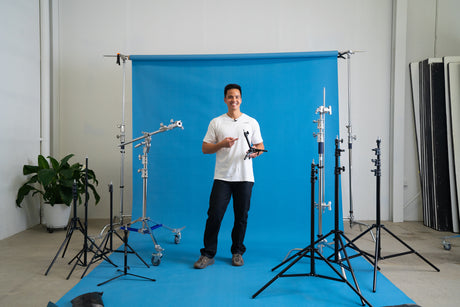
The golden hour offers a romantic atmosphere to wedding videos. Use a robust 180 cm or a heavy-duty 260 cm stand to support video equipment, and you will have a secure base for filming the wedding and reception. When it’s time for speeches, a wireless microphone system is essential for capturing every word. To record two people talking to the camera or each other, the Hollyland LARK M1 DUO 2-Person Wireless Microphone System discreetly clips to lapels for clear audio.

Photo Credits: All photos used with permission and courtesy of Steffy Marcella (@steffymarcella).
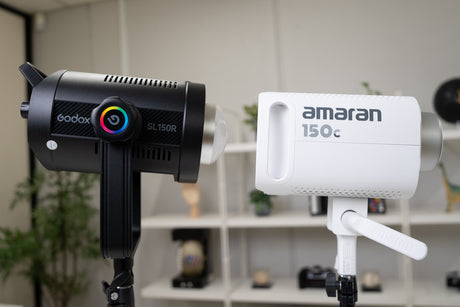
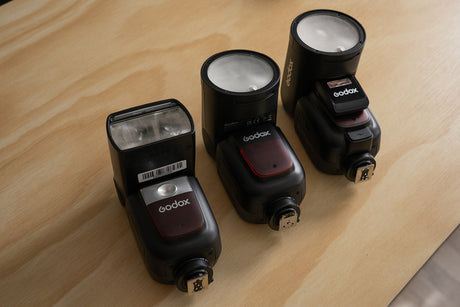
Balancing natural and artificial light sources for stunning shots: To correct colour imbalances, use gels or filters on artificial light sources to match the colour temperature of the environment. A battery-powered pocket flash is an ideal way to bring extra illumination without the tripping hazards of cables. The AD100Pro Pocket Flash from Godox is a compact speedlight that gives up to 360 full-power flashes at 100 watts output. The Godox Witstro AD200 is a portable, compact strobe producing 500 full-power flashes at 200 watts.
Also available is the AD200Pro, which has all the same benefits along with a stable white balance across the power range and a faster recycle time. The Godox Witstro AD300Pro produces 300 watts of power output. Regarding outdoor lighting tips, nothing beats incorporating pocket flashes into your shots. They are an essential piece of lighting equipment for weddings. These light sources produce a balanced blend of natural light photography and flash photography.

Photo Credits: All photos used with permission and courtesy of Steffy Marcella (@steffymarcella).
Adapting to Mixed Lighting Environments
General Tips: Shooting in RAW format gives flexibility during post-processing to adjust white balance and colour balance. Bracketing captures a variety of photography lighting options, which you can blend in post-processing. Confined areas, such as small dressing rooms or the interior of a wedding car, are notoriously difficult to light. However, the compact ADS200 is a fill light that envelops the subject evenly.
Adjusting white balance settings to harmonise diverse light sources: Adjust your camera’s white balance settings to match the light sources you use. Alternatively, carry a grey card or a white balance card to help set colour accuracy in mixed lighting conditions.
Using gels and filters for seamless blending of colours: When you want to be creative with colours, attach a MagMod XL Dome Gel Diffusion kit to a Reflector XL or any MagMod modifiers in the MagBox Pro system.

Photo Credits: All photos used with permission and courtesy of Steffy Marcella (@steffymarcella).
Final Thoughts
In wedding photography, being mindful of all possible lighting conditions is crucial to achieving optimum results. Weddings occur in settings that range from bright outdoor ceremonies to dimly lit receptions. Use fast lenses and an off-camera flash with a diffuser to overcome this. Incorporating these tools on a wedding shoot makes it stress-free!