The flat lay has become one of the most iconic photography setups of recent years, and one of the most important to master for your social media, websites, product photography, etc.
We’ve shot a few flat lays ourselves and have come up with a list of the essential things you’ll need for the perfect flat lay photography lighting set-up:
- Smartphone camera/ compact camera/ DSLR/ mirrorless camera
- Daylight-rated LED Ring Light with stand
- White reflector with stand
- White backdrop or any backdrop to suit (a wooden floor or marble benchtop works too!)
How to Set Up Your Flat Lay
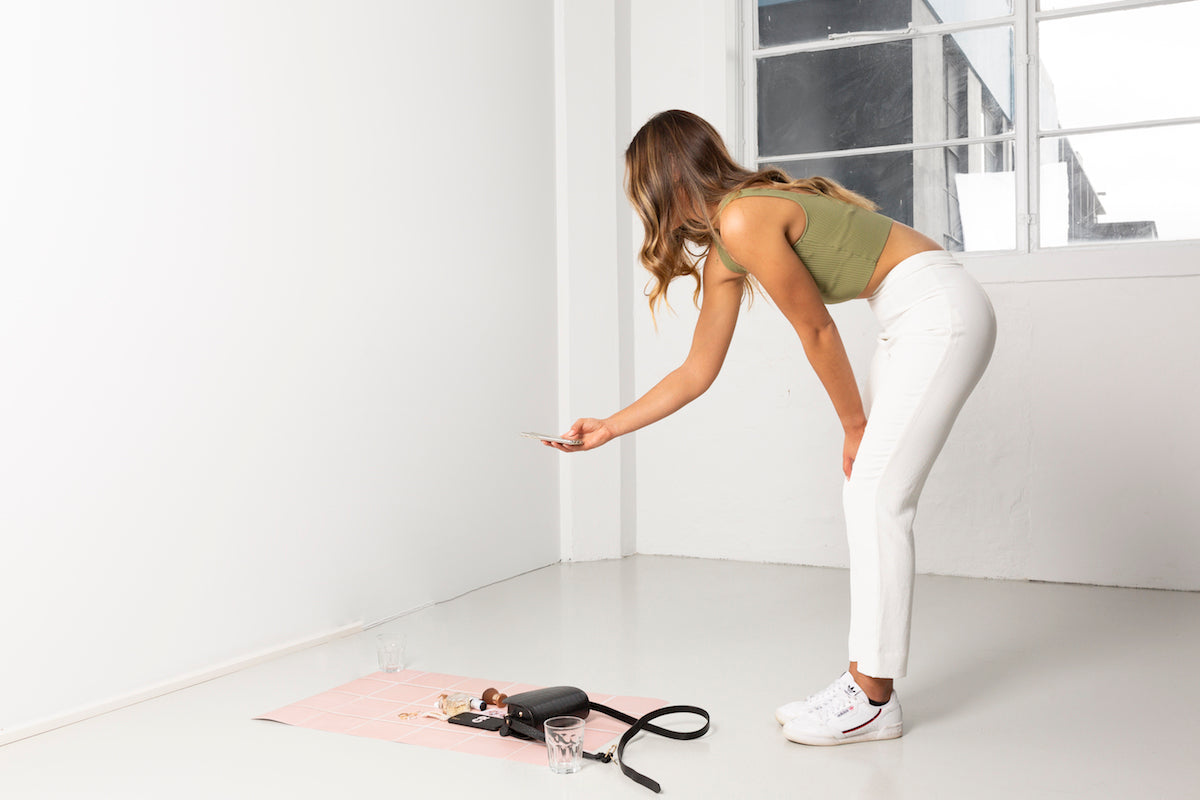
It’s not that difficult to set up for flat lay photography, even though it may look complicated. If you have the right flat lay photography equipment and need to know how to take flat lays- that’s where we come in! With our know-how, you’ll soon be shooting flat lays with confidence.
1. Decide what you want to achieve

When you see a really cool flat lay on social media or a website, you can be sure that the creator knew what they wanted to achieve before they started. What are your reasons for creating a flat lay? Are you introducing a new product, showcasing a service, or telling a story? Being clear about your theme will make the whole process much easier.
2. Pick the best background
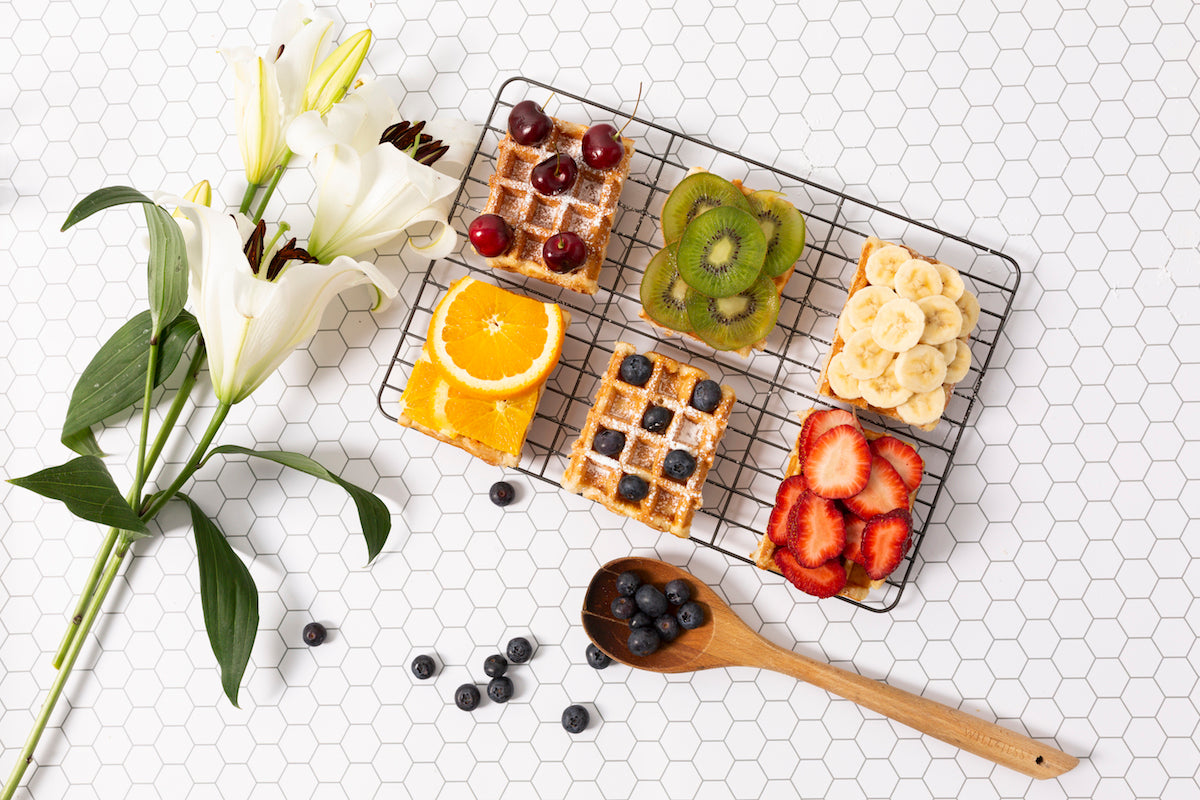
Go for clean and uncluttered backgrounds, and avoid heavily-patterned or bold coloured ones. Clean and simple backgrounds will showcase the objects in your flat lay without distracting the eye. You don’t have to spend a fortune on new backgrounds, as you may already have some in your home. Bed sheets, craft paper, wooden tables or floors, tiled or marble countertops - all can be made into great backgrounds.
3. Collect your props
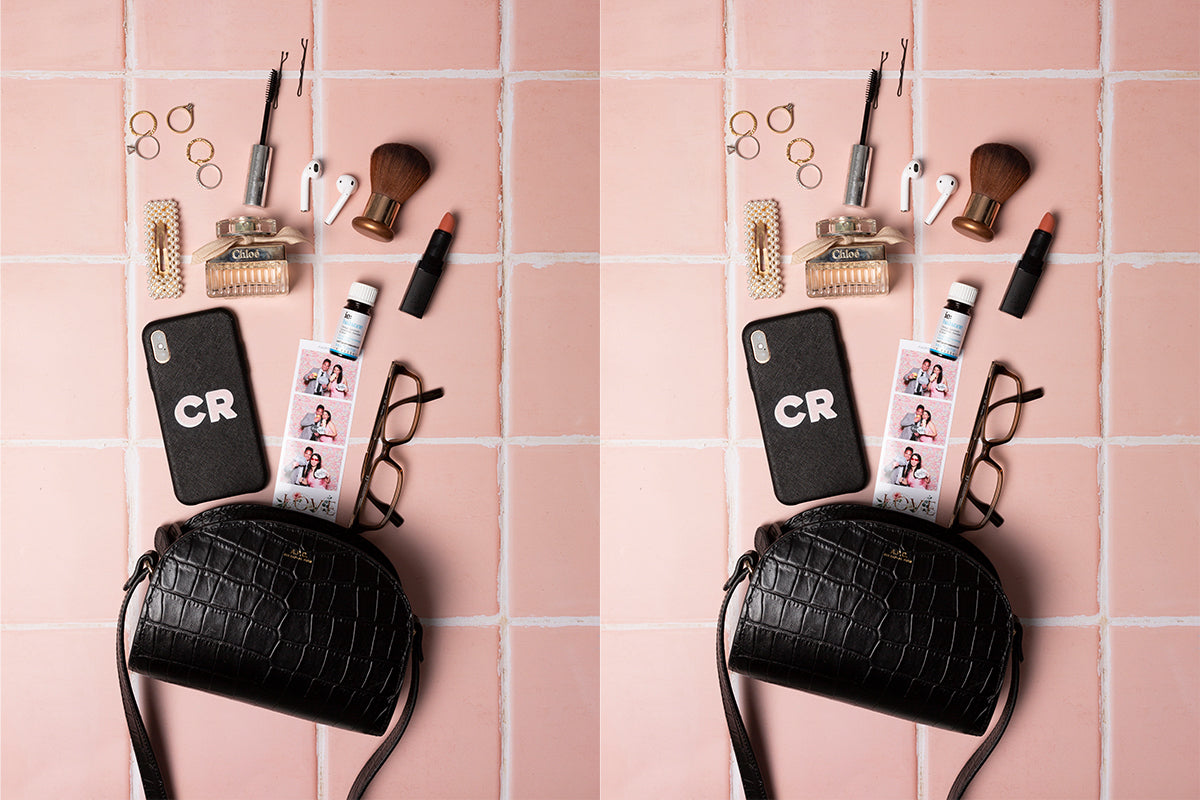
Choose the right props for the product or idea that you are showcasing. Your hero product is the star of the flat lay, so you need to choose your props to add interest and context without distracting from your main aim. For instance, if you are doing a food flat lay about Mediterranean bread, your props may include terracotta pottery, fresh herbs, olives, and tomatoes on a rustic wood or marble background.
4. Find the right placement
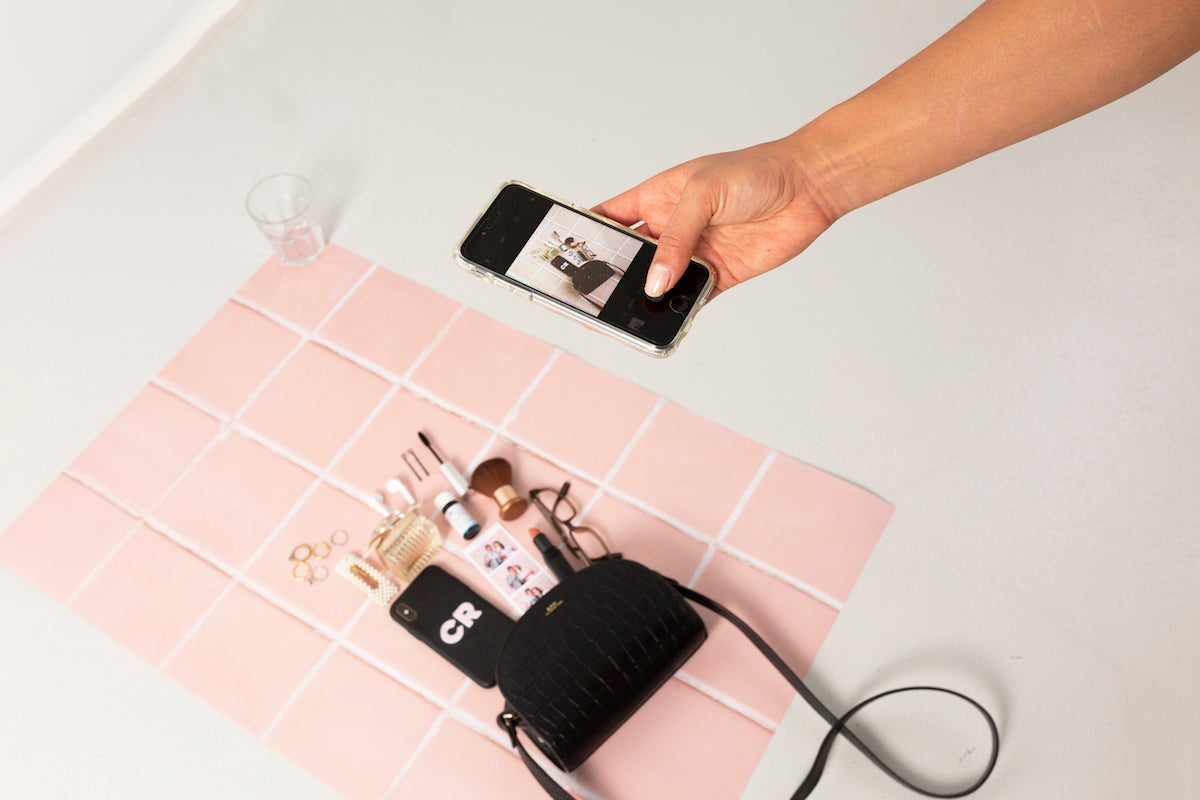
Place your hero product or major element in your flat lay, then place your props to fill in the gaps. Play around with spacing and placement angle to see what looks best. Don’t put your props too close together, or the flat lay will look crowded and unbalanced.
5. Which Flat Lay Background Should You Use?
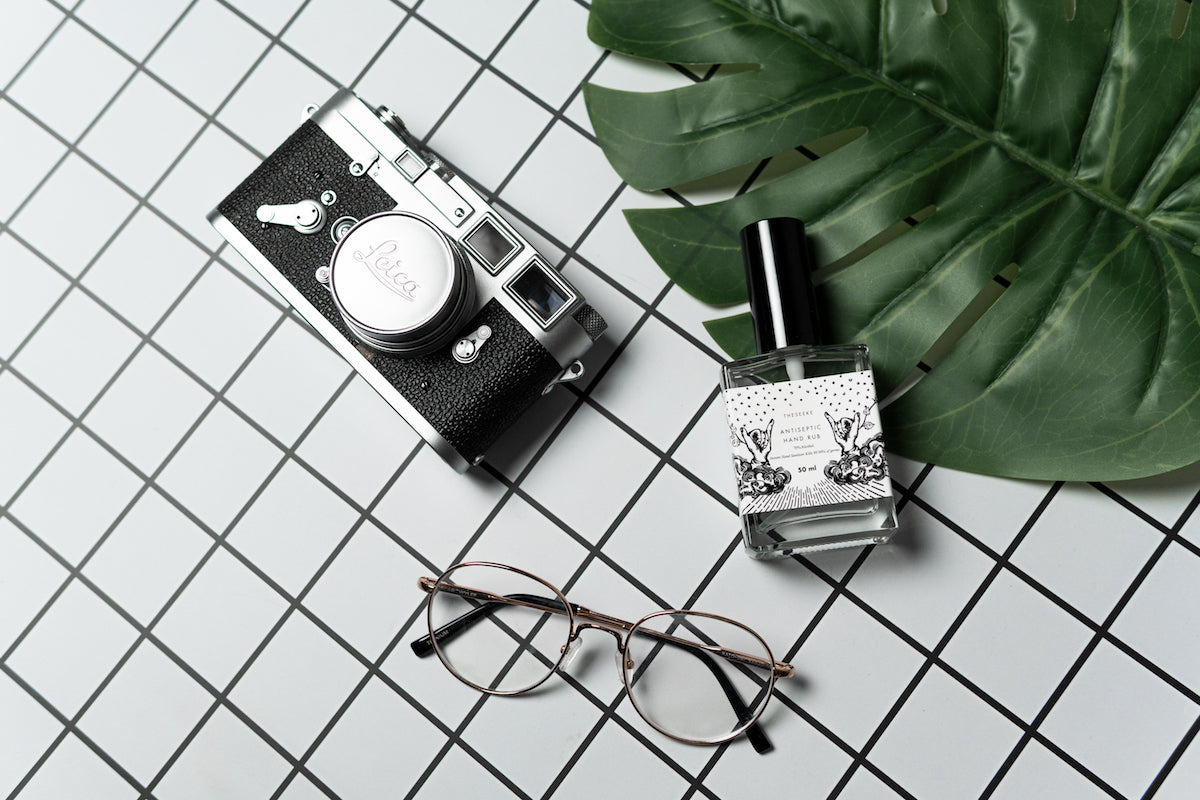
As mentioned earlier, you can probably find backgrounds in your home to use, but if you decide to add some variety or want professional-looking backgrounds then we’ve got you covered with our range of epic Flat Lay Instagram Backdrops. These 56 x 87cm backdrop panels come in different colours and textures like white marble, pink tiles, white wash wooden, concrete, and many more to create a flat lay that fits with the story you’re trying to tell.
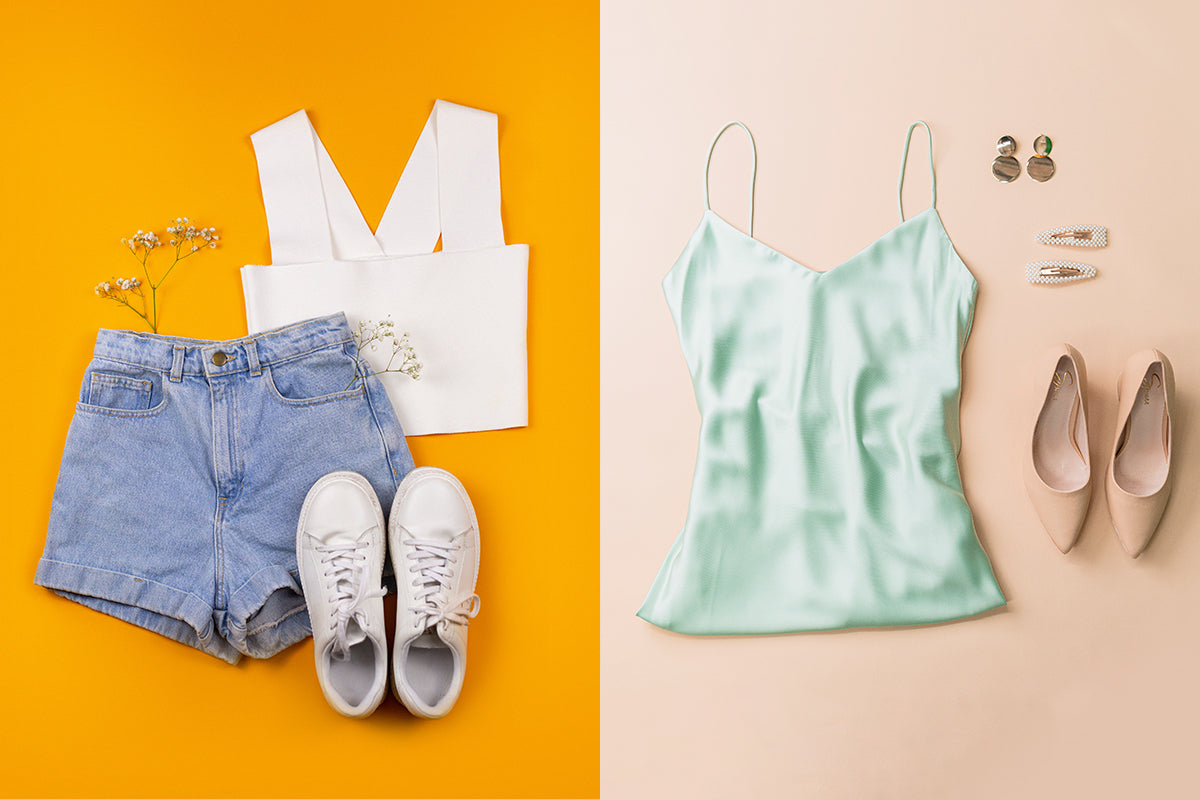
If you’re after a plain coloured backdrop, then our half-width Paper Backdrops are an ideal solution. These rolls are made of high-quality, durable paper in many different colours, and when one part gets torn or dirty, you can cut that bit off and pull out a boxfresh new section of paper roll!
How to Light up Your Flat Lay?
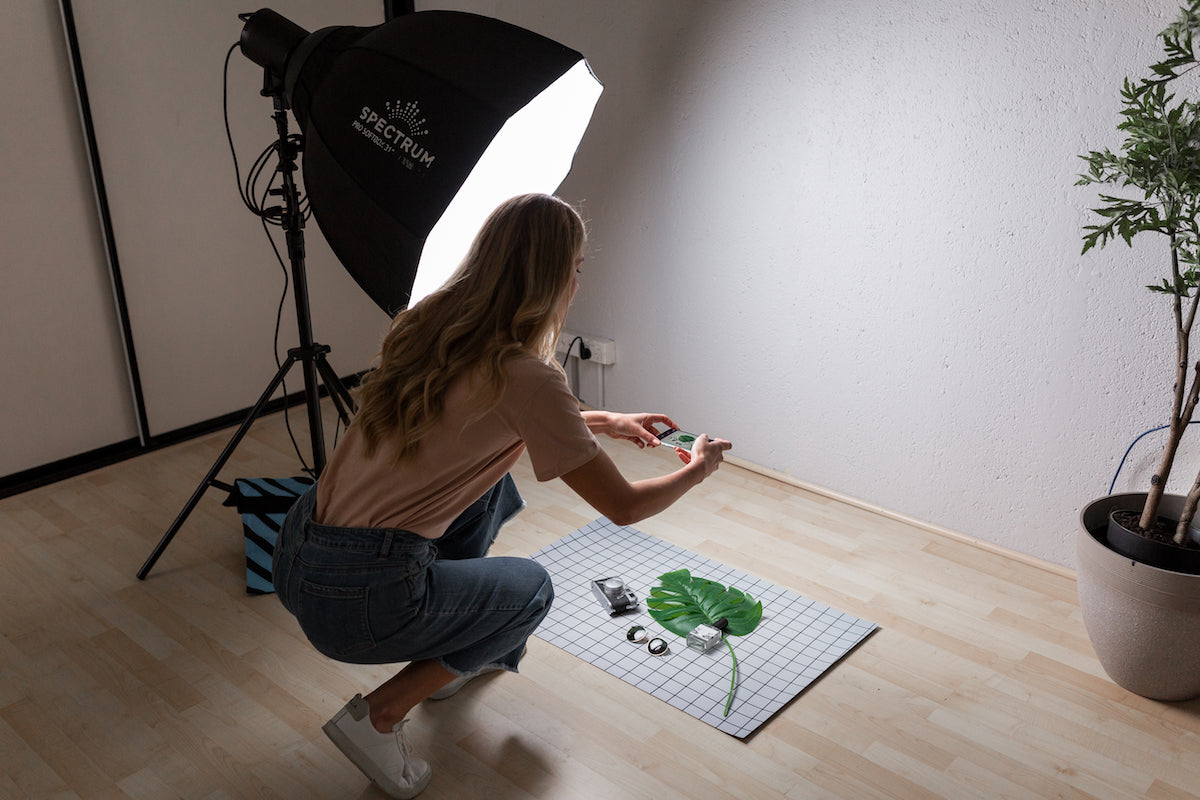
Tricky? Not really! The key to great flat lay photos is proper lighting. We’re going to show you how to take flat lay photos without shadow to give you that clean and classy look. Your lights are an essential part of your flat lay photography equipment, and we’ve created some nifty little lighting diagrams showing you how to place your ring lights or softboxes.
1. Ring Light + Reflector + Backdrop
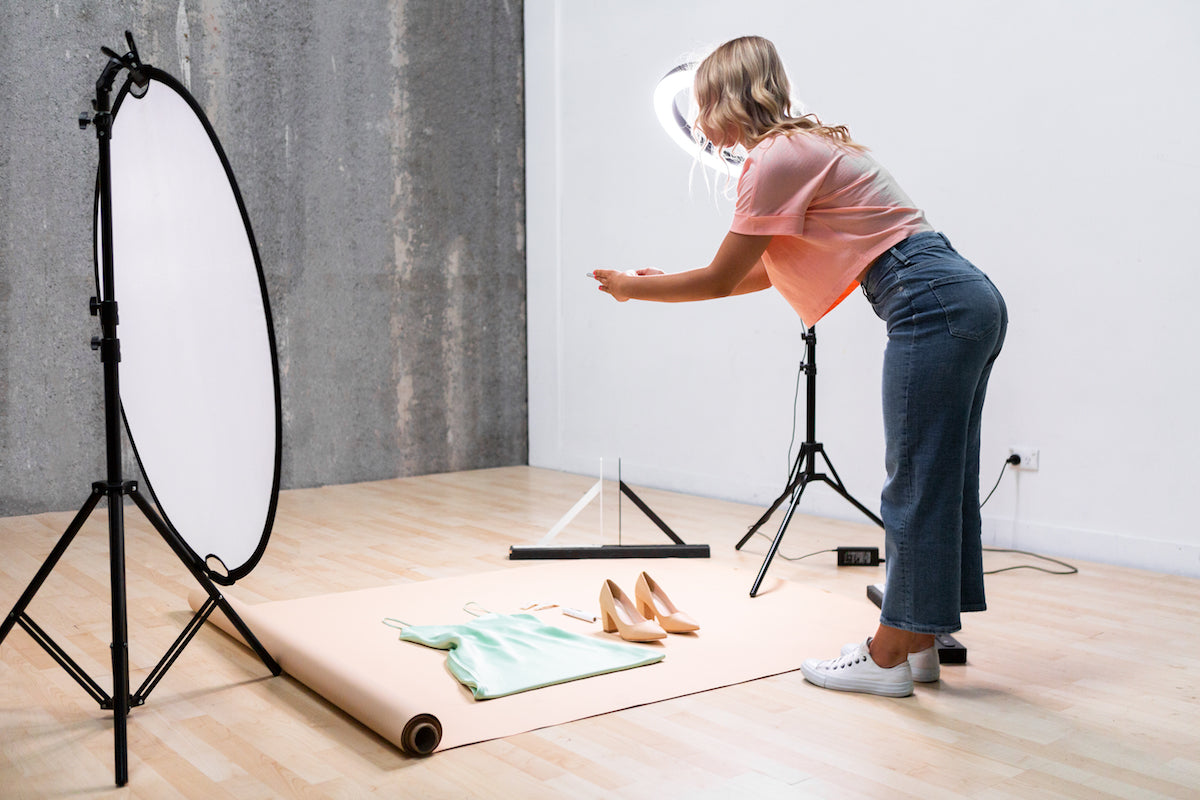
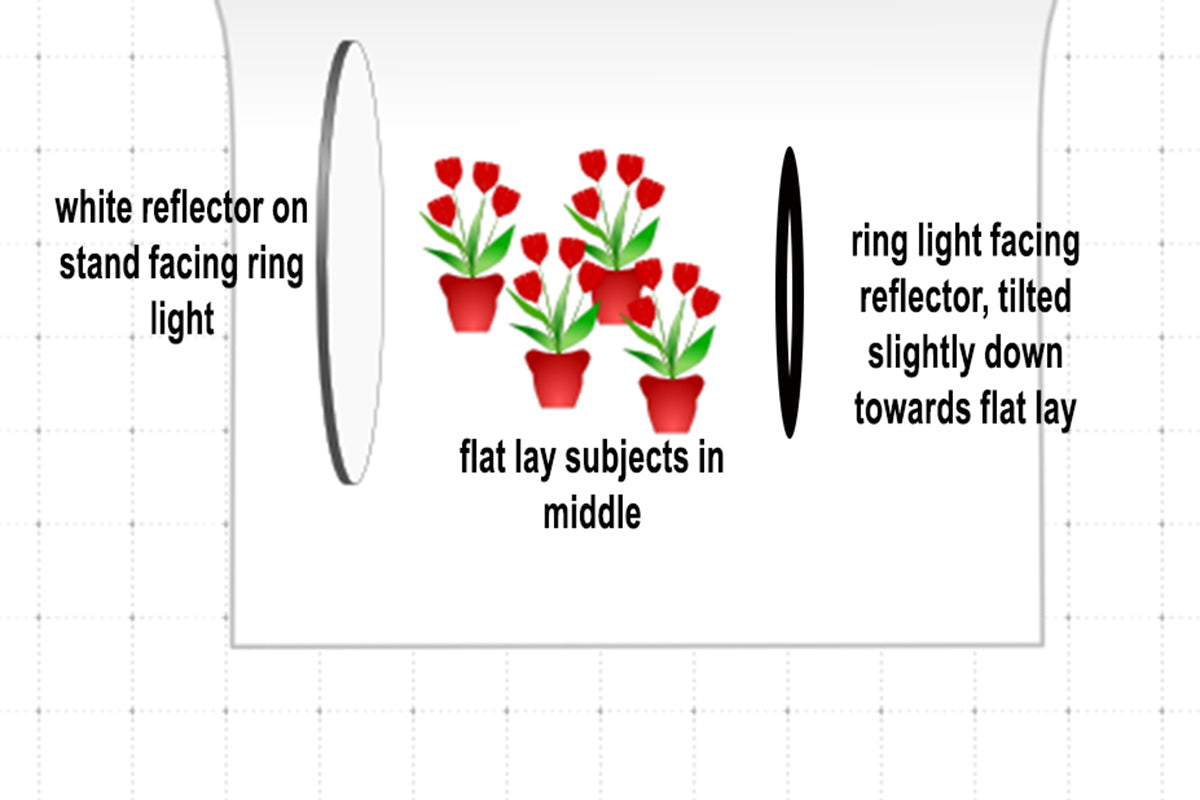
This setup was created with our Flat Lay Product Photography Lighting Kit. It doesn’t take up much space, and involves using a ring light as your main light at one end of your flat lay setup, with a white reflector on a stand at the other side to bounce the light back on to the flat lay and reduce shadows.
The flatlay backdrop (sold separately) is placed in the middle of the ring light and reflector:
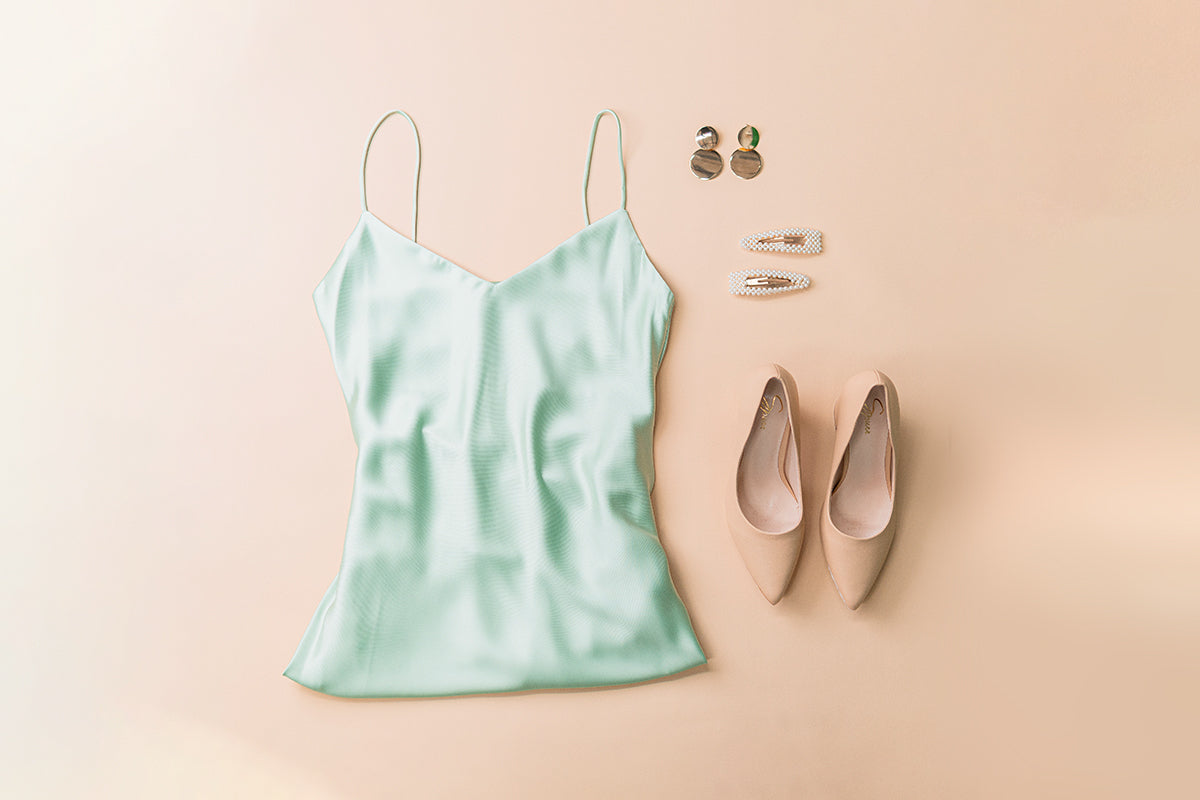
RESULT
2. Ring Light + Flat Lay Instagram Backdrop
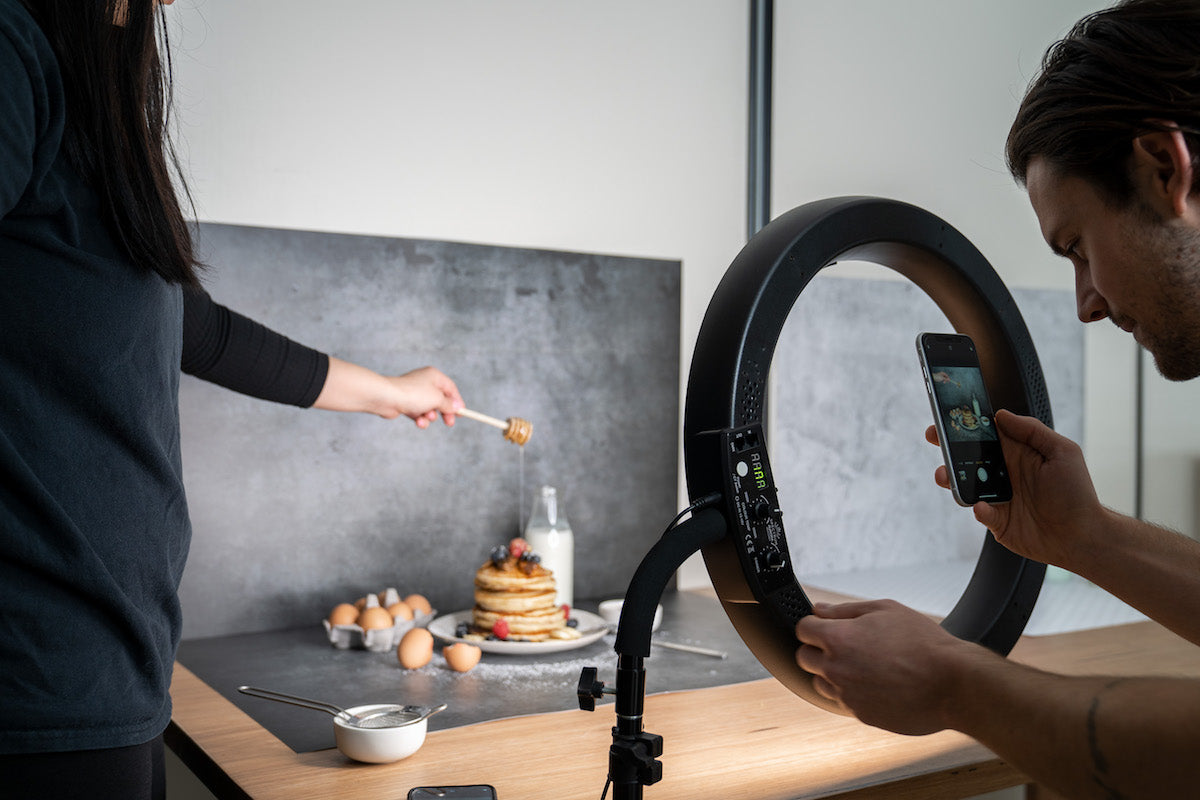
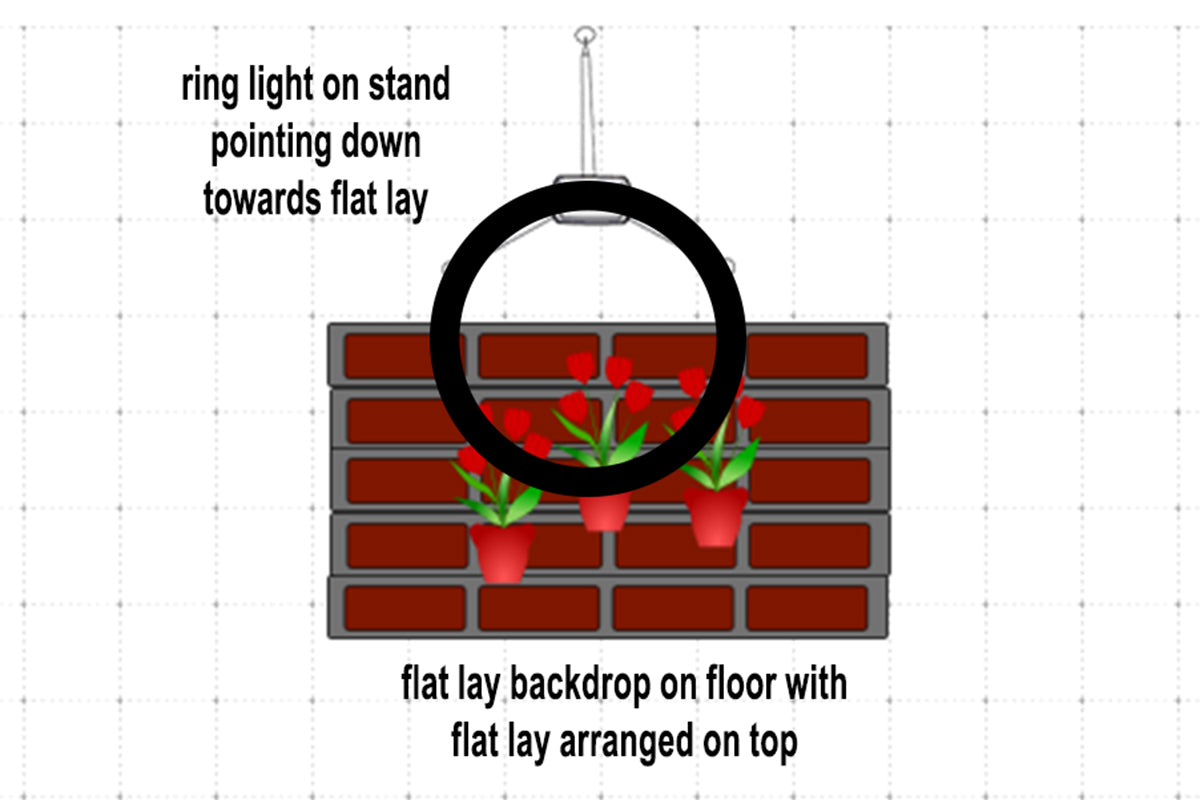
For more compact lighting and backdrop, you can use a ring light like the Spectrum Aurora 18” Diamond Luxe II Ring Light and the Spectrum Flat Lay Instagram Backdrop. This combo is great for speedy setup, so you can shoot whenever the creative gods strike you with inspiration!
The backdrop is placed on a floor or table, and the ring light is positioned over the top and the adjustable gooseneck is bent so the light is shining straight down on your flat lay:
RESULT

3. Flash Strobe + Octagon Softbox Lighting Modifier + Backdrop
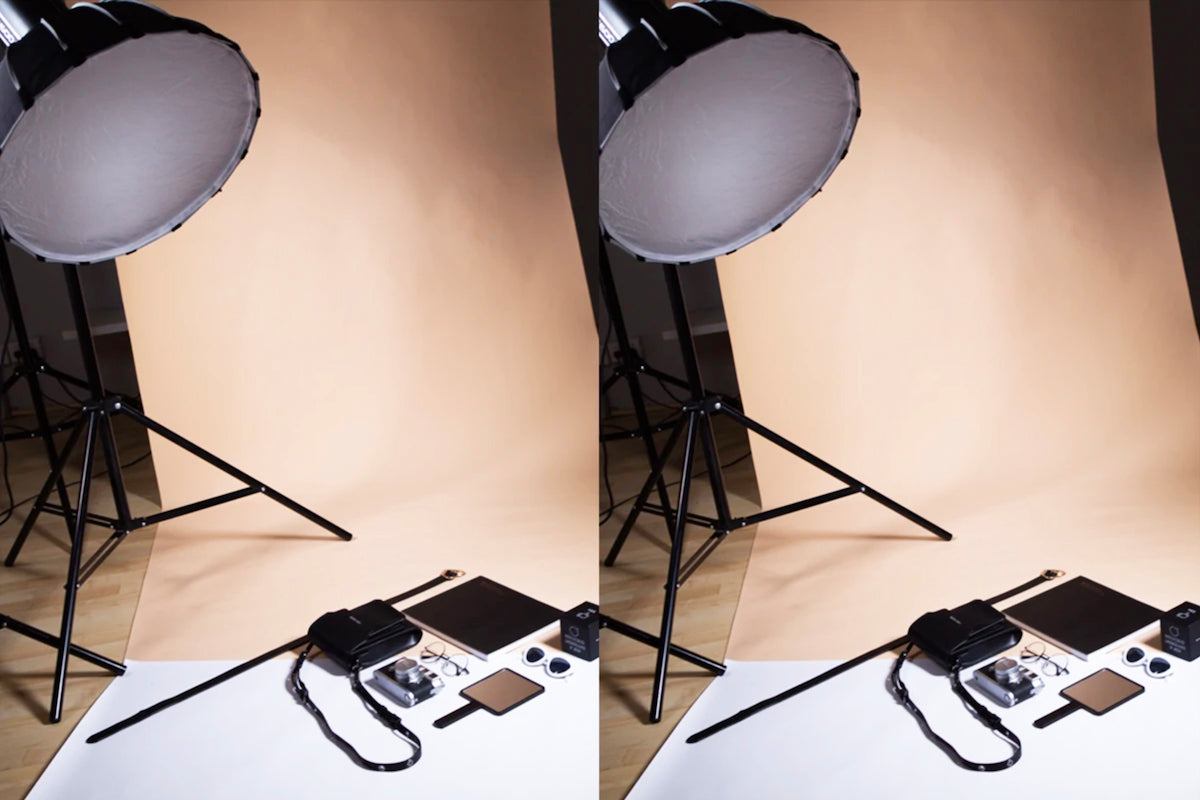
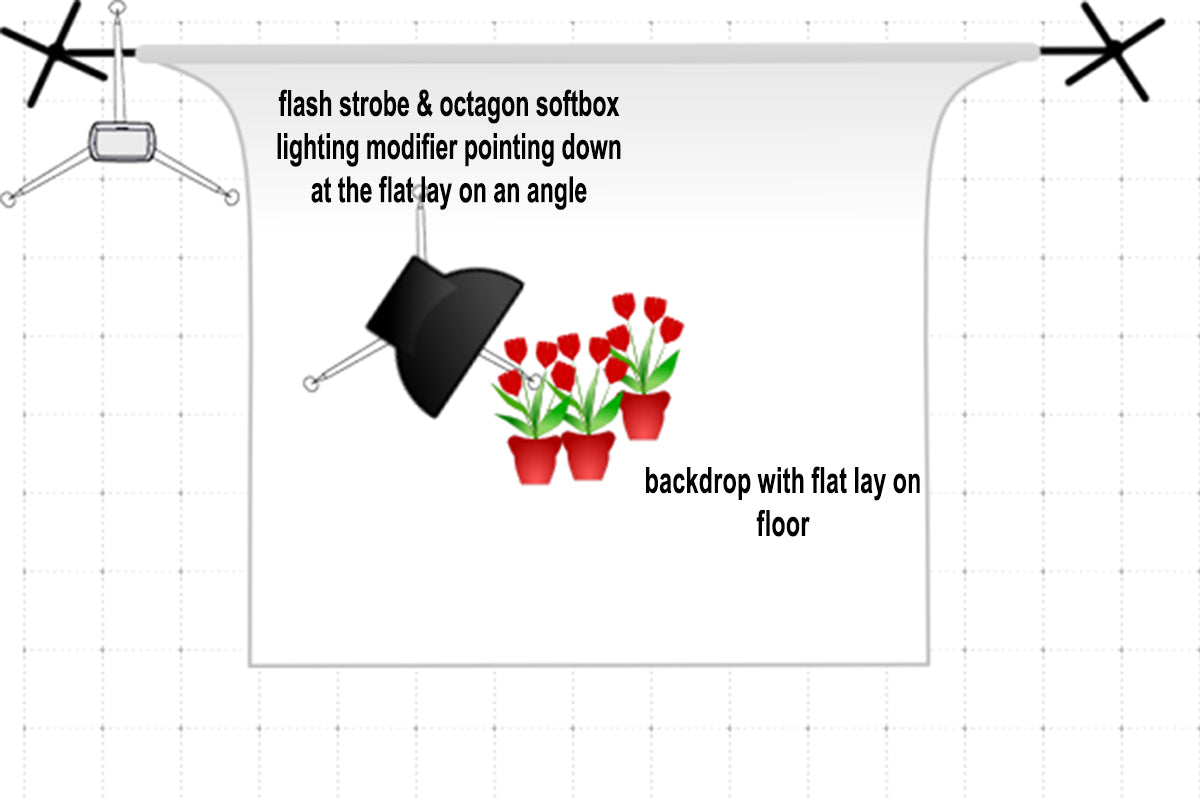
For those who use a DSLR camera, a flash strobe like the Godox QT600IIM 600W HSS Flash Strobe paired with an octagonal softbox such as the Godox 80cm/31.5” Collapsible Octagon Softbox Light Modifier makes for a powerful and versatile lighting setup.
Position the strobe and octagon softbox pointing down towards your flat lay. The strobe has adjustable power so you can brighten or dim it as you see fit. Moving the softbox nearer to your flat lay will also further reduce any shadows, while moving it further away will increase the shadow and contrast.
RESULT
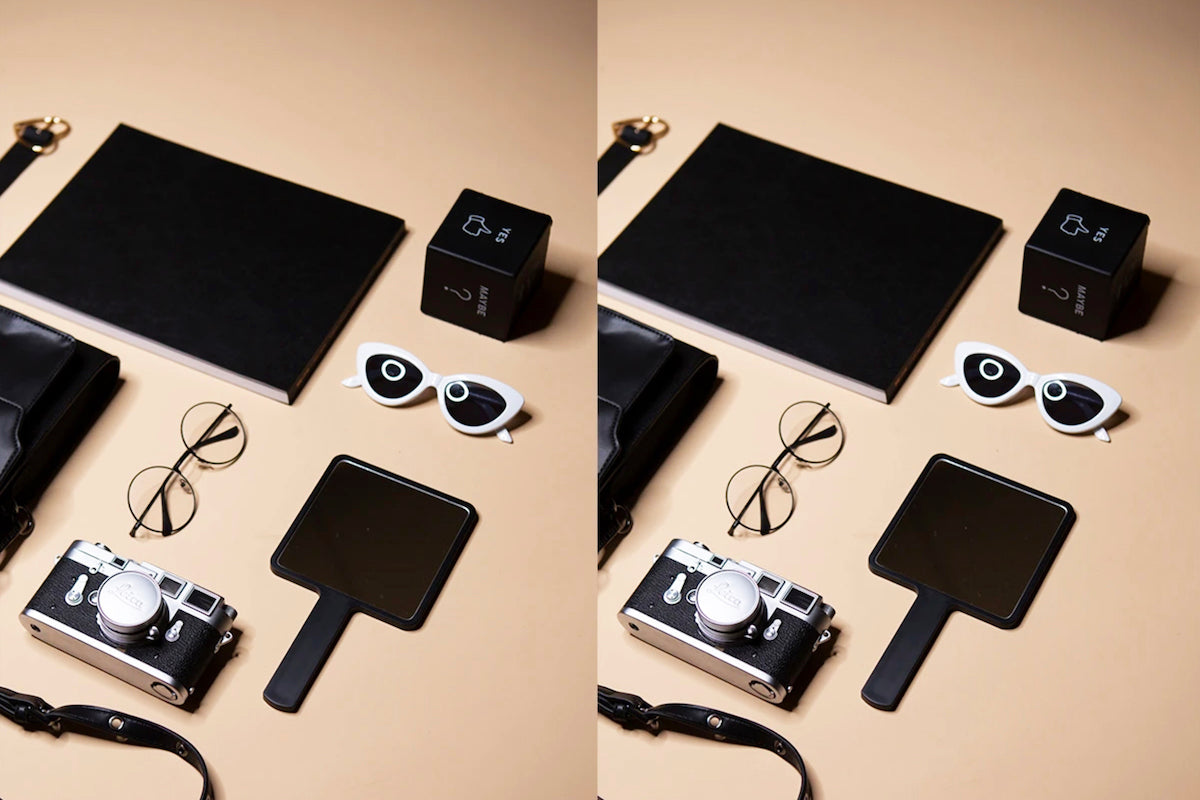
4. Double Rectangle Continuous Lighting Softbox Kit
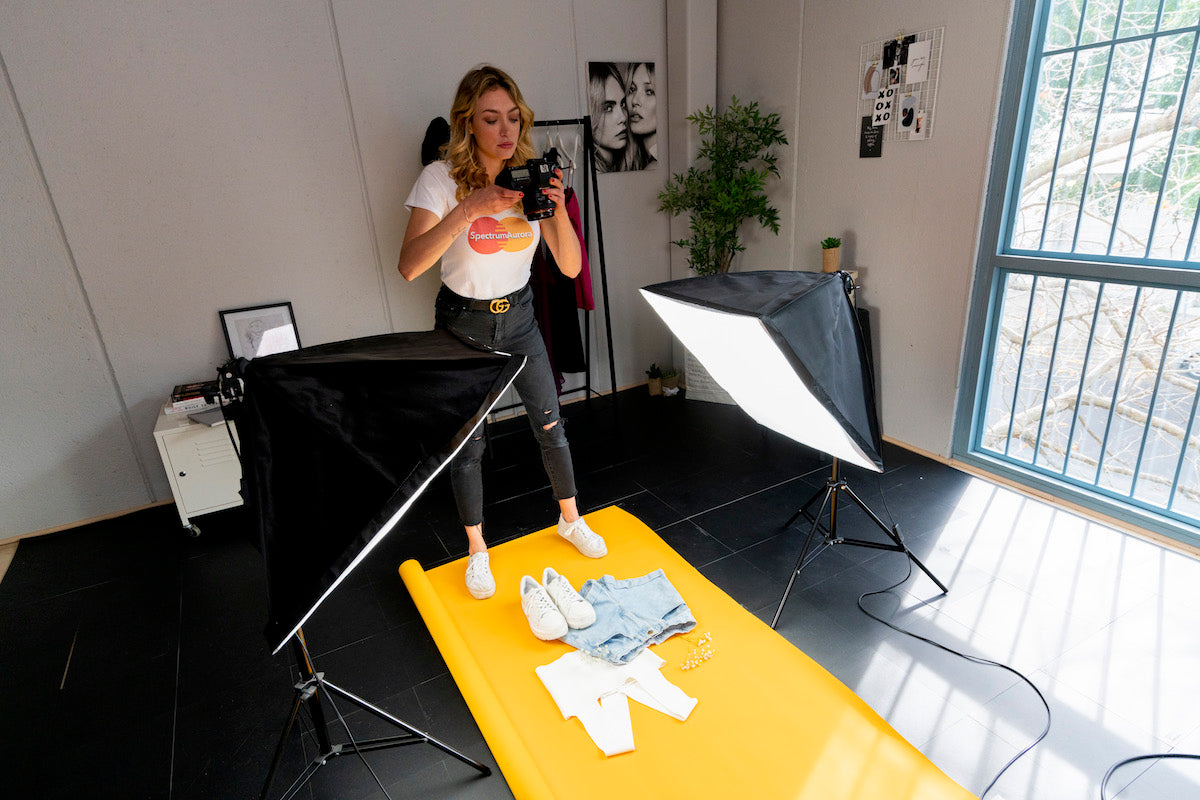
A set of two softboxes is twice as nice! Our Spectrum “Illuminate Mate” Double Rectangle Continuous Lighting Softbox Kit can be used with smartphones, compact or DSLR cameras (just like ring lights), which makes it a versatile piece of gear. The double rectangular softboxes are positioned on each side of your flat lay to give even illumination throughout.
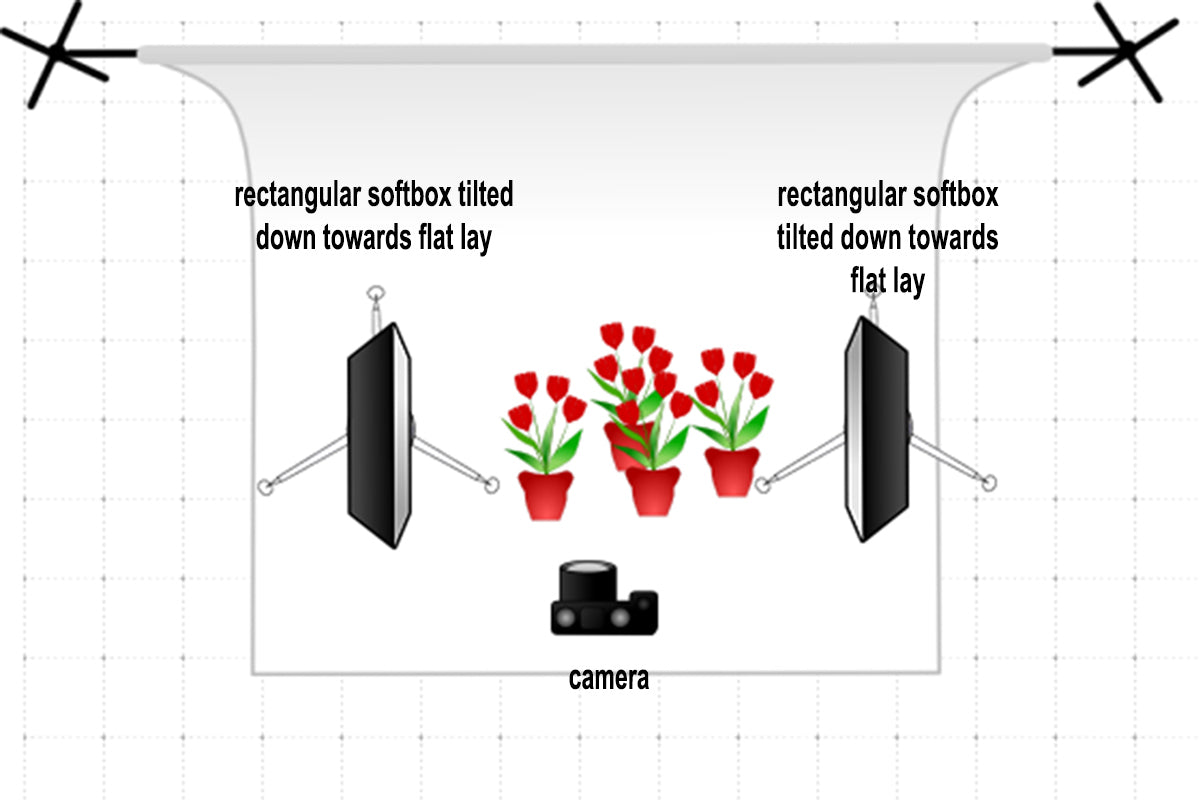
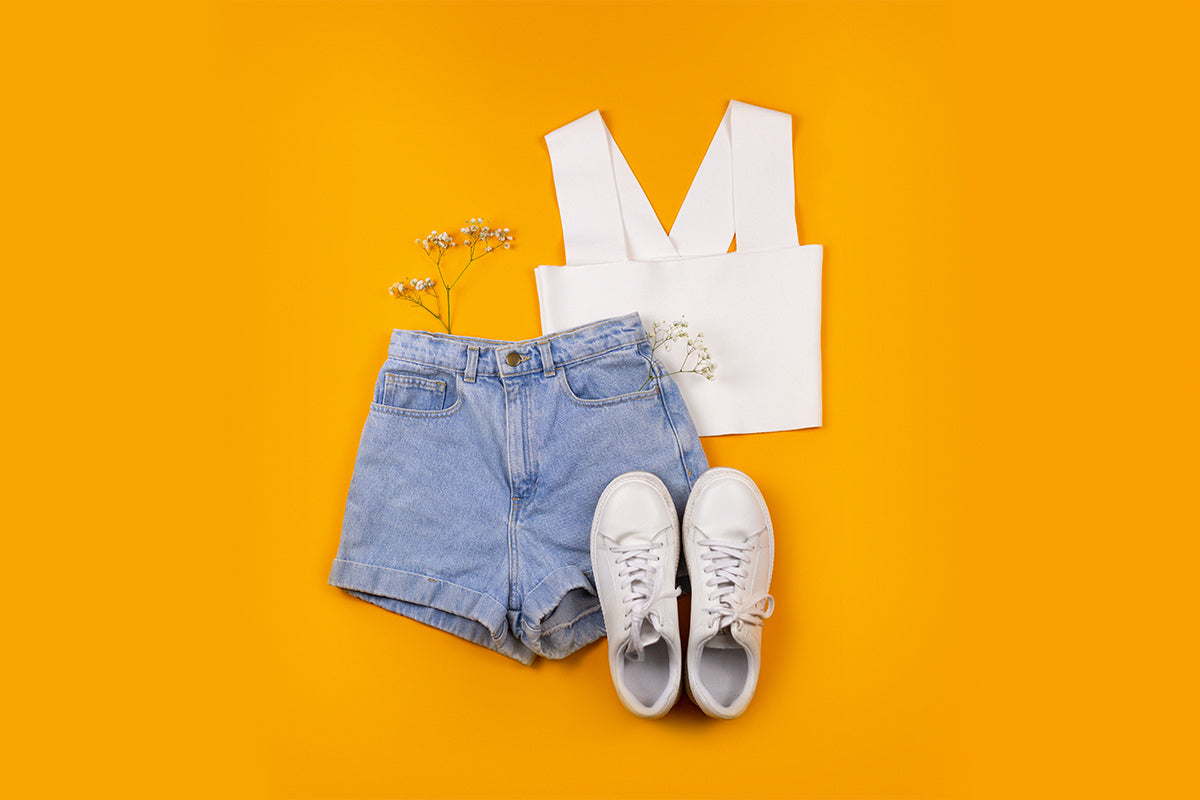
RESULT
Want more lighting inspiration?
Check out our other blog post for even more lighting setups and expert tips: https://www.hypop.com.au/blogs/blogs/5-ways-to-light-up-flat-lay-photography
Tips & Tricks for the Perfect Flat Lay

Here’s a few other awesome tips to create your best flat lays ever. Perfecto!
- Most flat lays are shot directly from above, so it’s easier if you have your flat lay set up on the floor - otherwise you may need a chair or stepladder to get right above it.
- When you have the shot you want, get more out of your shoot by taking a few photos from different angles, swap some props or take some behind-the-scenes pics to share - content is king, so get as much from one shoot as you can.
- Edit your photos with editing software - not too much, but fix any exposure issues, and boost the colour and contrast a little in Lightroom or Photoshop. Or you can use one of the mobile apps like VSCO, Snapseed, or even Instagram’s own editing tools.
- You can use two flat lay instagram backdrops placed perpendicular to each other to create a makeshift cyclorama
Conclusion

Learning to shoot flat lays like a pro takes a bit of time and practice, but like any other skill the more you do it the better you become! Flat lays are going to be around for a while, so if you want to catch the eye on social media or your website, or sell your products, it’s a skill worth learning.
Don’t forget, trying to take flat lays without decent lighting is like trying to drive a car with square wheels - painful and frustrating! There’s no getting away from the fact that good lighting is the key to good flat lays.


